Showing posts with label Stampin' Up. Show all posts

Tuesday, 5 April 2011

Lots of Layers!

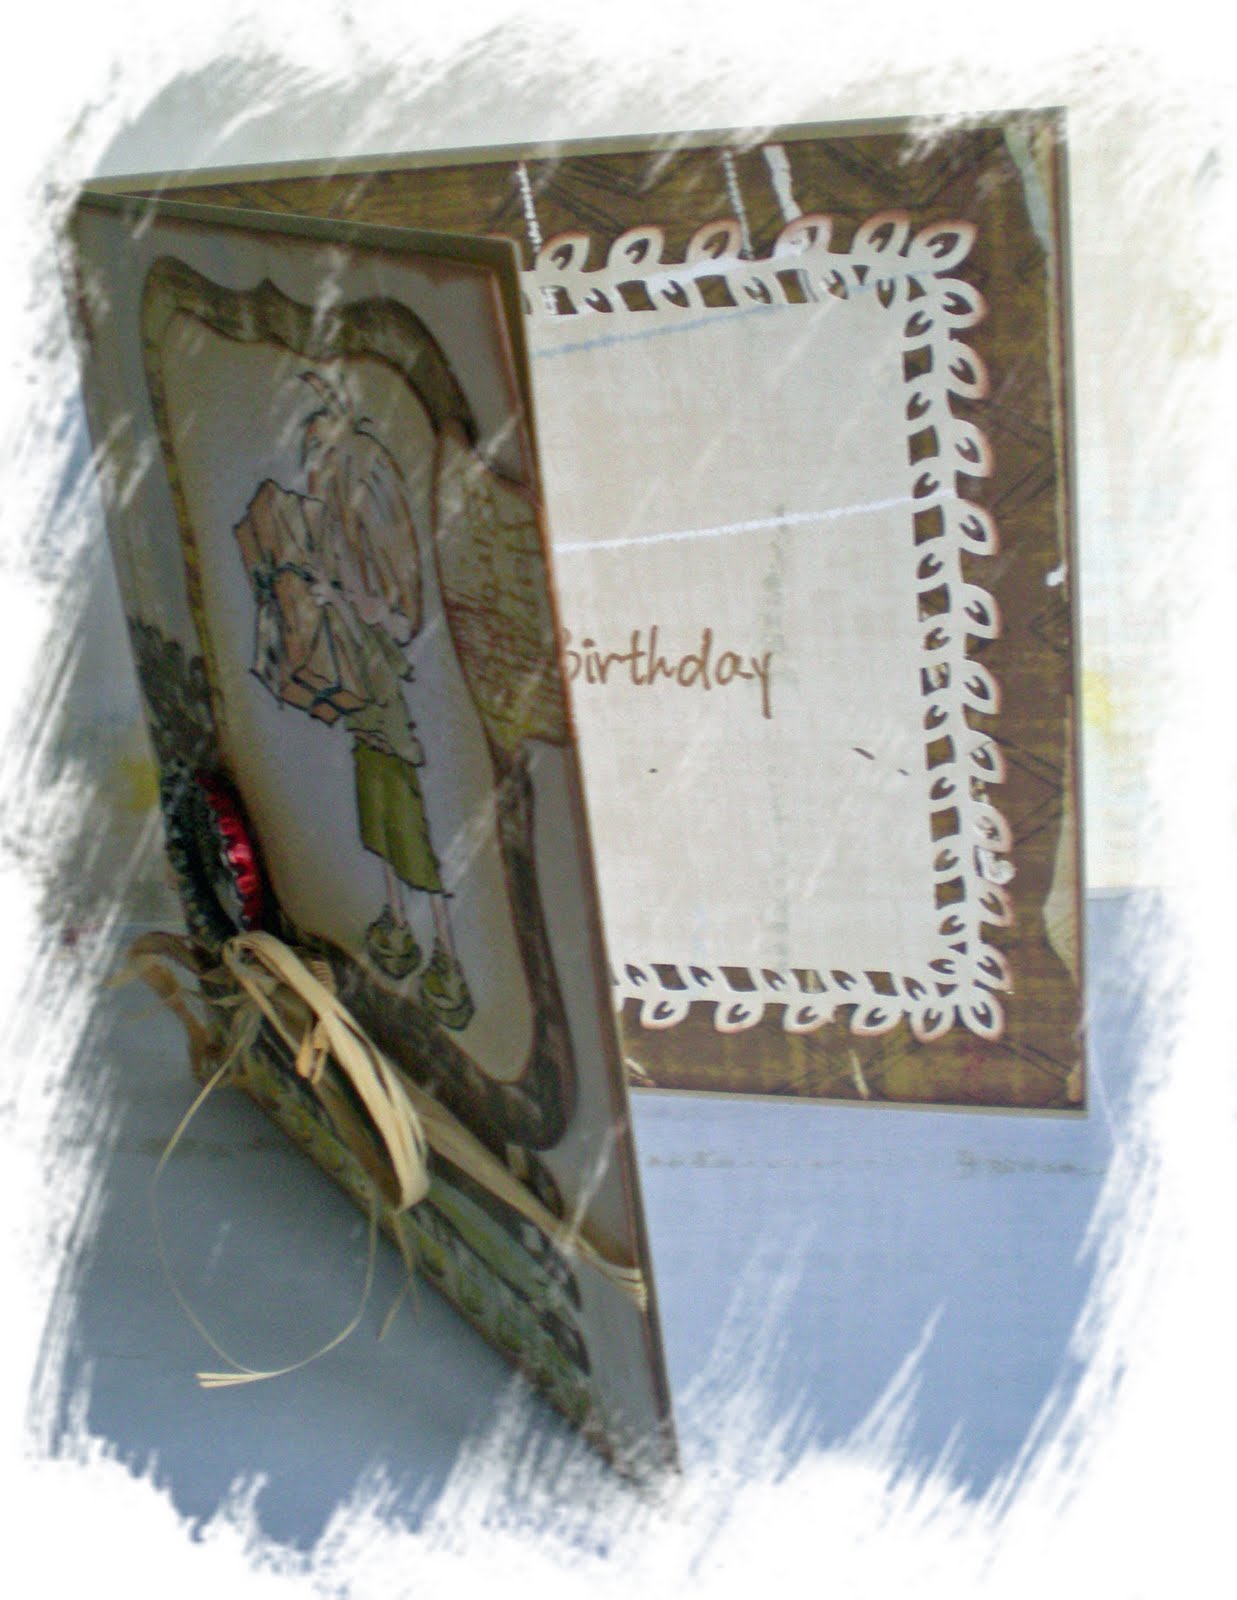
Thanks to Zoe, I have just seen that the April Challenge over at "The Artistic Stamper Blog" is Layers. I've just made this card for a friend who's perfect present would be another hen! Best of all I did use a Chicken wire background stamp from the Artistic Stamper on one of my background layers. The main stamp is from Crafty Individuals and this has been coloured with copics. Not sure that the colouring is brilliant, but it did the job, will probably use watercolours next time as I think they will be more subtle. Other stamps used are my dotty stamp, LOTV (sentiment) and Paper bag studios. The layer stamped with the chicken wire and Paper bag studio grungy stamp (have no idea what it is called) is brown parcel paper, the next layer up is some handmade paper that I made in a class over 10 years ago....it just resurfaced in my pile of stash! All four layers were stitched together and the raffia tied around before being stuck to the base card. The eggs were coated in glossy accents to give a bit more interest. The punches were from Stampin' Up. Edges have been distressed with distress inks.

PS...Just seen Zoe's simply square card for the "new Crafty Individuals challenge" and thought this fits the square theme too!!! How lucky is that!? Unusual for me to do two challenges in one.

Tuesday, 29 March 2011

Punch it with Lili of the Valley!


The challenge for the last week over on the Lili of the Valley Thursday challenge blog has been Punch It!

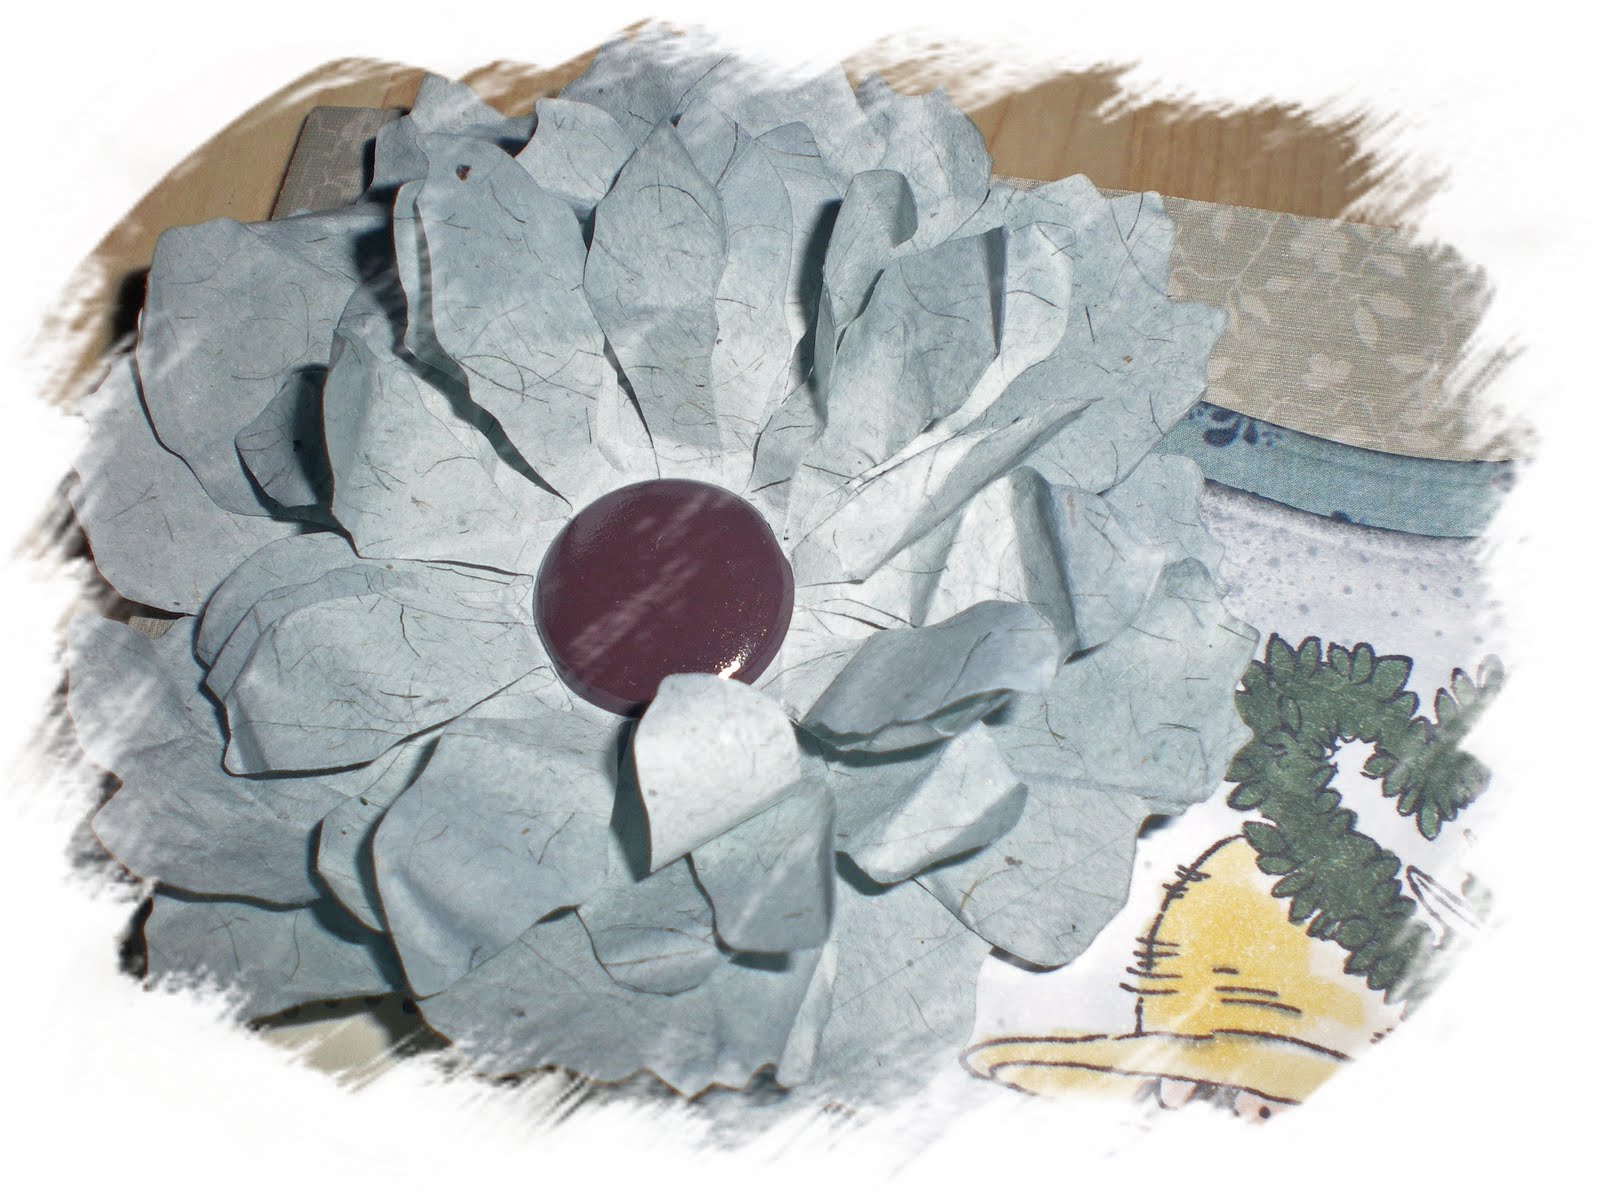
I just made this card with a new Martha Stewart round the corner punch...I really wanted to get the flowery one, but decided that, practically speaking, the leafy one would be more universal in that it would be OK for guy cards as well as girly cards.


The tab was also a punch, namely Stampin up, apart from this dies were Tim Holtz and Spellbinders nesties. Colouring was with Copic markers and distress inks and stamps were Lili of the Valley and my dotty stamp. Papers were from the Treasury.

Saturday, 19 February 2011

Tanda Teaser and Fave Colours


Sorry I've been a bit tied up hence the lack of blog postings...so I'm sorry if this is going to be a bit of a long post...but please read on.


Firstly a bit of info on the current Tanda Teaser.....this is a sample card that I have made for the Treasury in Kidderminster. I used distress inks (Shabby Shutters and Peeled Paint) to sponge the backgrounds using a Tim Holtz compass mask. The boot prints were stamped in Frayed Burlap, the crackle in Pumice Stone. The boot prints were given a wet look by using glossy accents. The compass was stamped in archival ink and then coated with glossy accents. The map was printed out from the computer, folded and stuck under the compass. Raffia was tied around the card to finish it off.


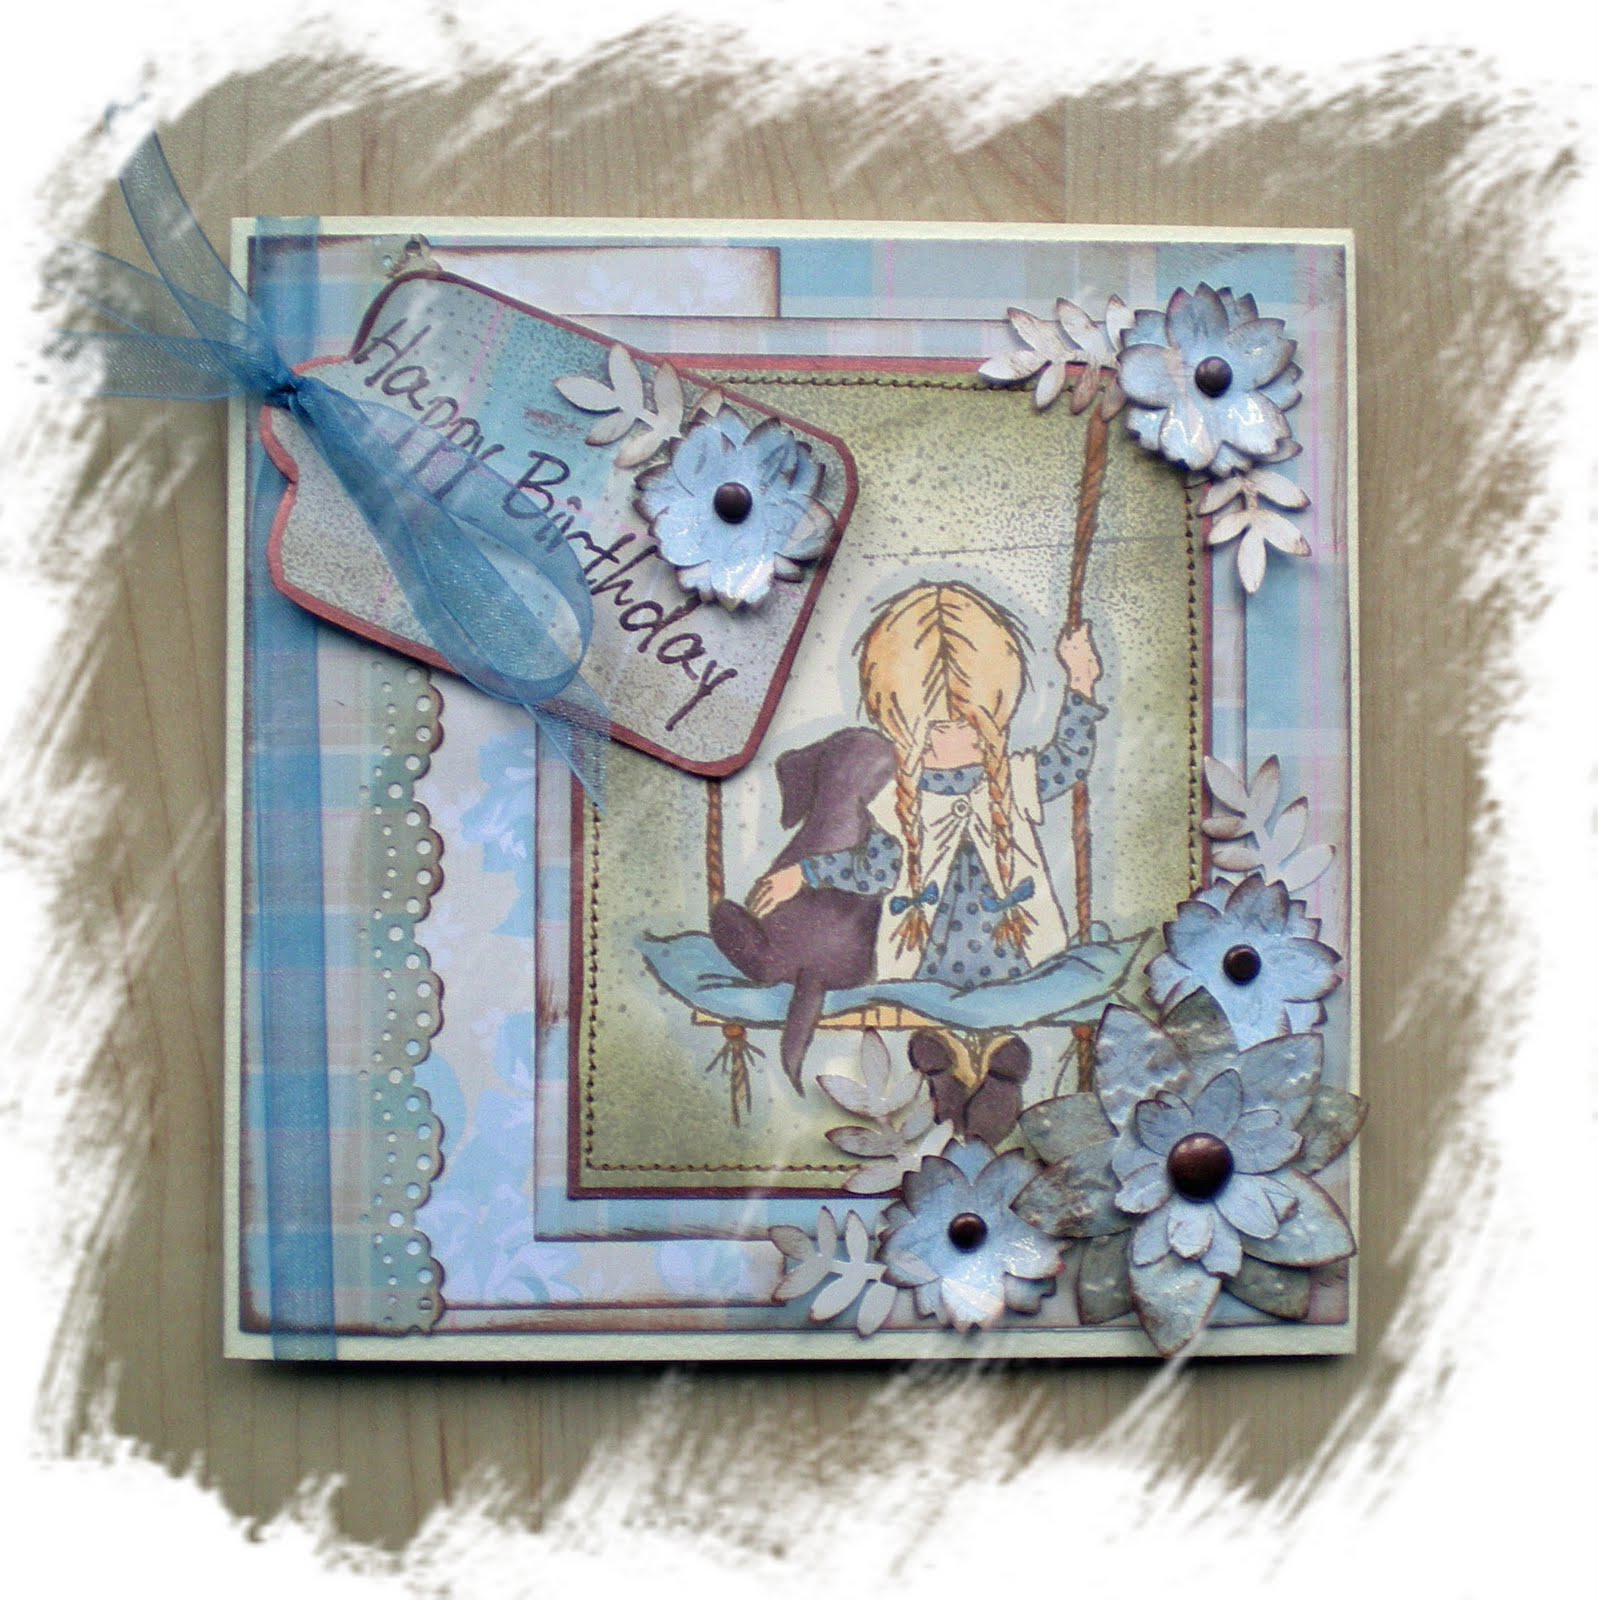
The next challenge card to show today is for the "LOTV Thursday challenge". This week it is favourite colours. The card I'm entering for this is one I've just made for my Mum.


Blues and Greens usually make up my fav colours, but I was really happy with the blues and cream/browns on this card. The stamp of course is LOTV Love Grows. Mum and dad are both keen gardeners and their birthdays are days apart so I actually made his and her's cards using this stamp in different colour ways. Dad's card is a bit more masculine of course.


The flowers on mum's card were made using Tim Holtz's tattered floral die, the tab was an SU punch, the papers were from the V&A inspired collection, the border punch was of course Martha Stewart and the colouring was done using copic markers.

Sunday, 5 December 2010

A Few of My Favourite Things


I just found a Challenge site for Lili of the Valley fans! And this week's challenge is a Few of My Favourite Things.....LOTV stamps are certainly amongst my favourite stamps at the moment and having just stocked up at the NEC I had to join in with this challenge.


My stamped image was stamped in distress ink and then coloured using copic markers. My favourite things in this are, of course, the stamps, the copic markers, ribbon, Glossy accents, distress inks, SU punches and Martha Stewart punches.

Thursday, 30 September 2010

V is for Vintage


Sorry for my lack of blogging over the last few weeks....you know the saying...so much to do...so little time! About time I posted something and so I thought I would take part in the Alphabet challenge "V is for Vintage"....so here it is...really soft colours for a days gone by feel card......
The stamp is from Lili of the Valley coloured with Copic markers, distressing and stamping was done using Distress Inks. The punches are from various companies including SU.

Sue
x

Wednesday, 15 September 2010

Seeing the wood for the Trees


Don't tell a certain person that I've posted his birthday card early ....I couldn't resist...T is for Trees over on the alphabet challenge! I got a call yesterday from Maggie to say that the loads of love accessories stamp set from Su had arrived! Itchy fingers or what! Just had to play.... and here it is....


Backing papers are all over the place....but they go together nicely!

Saturday, 12 June 2010

G is for Green

This week's letter on the Alphabet challenge is G....and of course G is for Green..but a little bird told me being green could be about recycling...only problem is I just blogged my recycled yeast tin yesterday so that will not count. So this will just have to do....


My Gorjuss girl is coloured with Copic Markers, the background papers are from the Arityicious Decadent Brocade CD Rom, the sentiment was a custom stamp from Tanda and embossing was done in a Cuttlebug embossing folder. I've used various punches and dies including Martha Stewart, SU, Joy and Spellbinders and edges have been distressed with Distress inks.


On the green front, the veg patch is beginning to come together.....here are some pictures.....these are of my beans and courgettes...taken about a week ago before all the rain...they are a little bit bigger now! luckily my water butts have filled up again...they were all empty last weekend! You might just notice the tomato plants too...two plum and 1 Cosack..I have 3 Gardeners Delight and 2 Sungold elsewhere. Tonight our salad was mainly out of the garden...I really recommend Sorrel...it's a hardy perennial, once you get it to germinate it seems to come through quite hard winters...it can be cooked like spinage..(I haven't tried that) or it can be used in salads...it has a fantastic lemony flavour and I thoroughly recommend it!! Doesn't take up much room in the garden too...so it is well worth the initial effort! Once germinated...just keep it well watered and stop it going to seed and you're sorted for years to come!

Wednesday, 21 October 2009

Tanda Teaser Tick Tock!


This week's Teaser has a time theme....the clocks go back on Sunday and clocks and watches seem to be so popular at the moment.

For my sample card I made the background using distress inks and clock stamps from Stampin' up. The main image on the card was stamped in Stazon using the watch stamp from Tanda background set 1. This was stamped onto a tomato puree tube (I ran it thought the wizard first to get it completely flat) and then cut it out and embossed it using ten seconds studio tools.

Friday, 21 August 2009

V is for Van


As a child of the 60's and having trendy daughters who think that VW Camper Vans are really cool, I couldn't resist this flower power inspired atc! The camper van stamp is by Inkadinkado and the flowers and dotty circles are by Stamp'in Up. The Van, V and label were all coloured with Copic markers. The paper flowers were spray inked and painted in a pearlised medium to give a bit of shimmer. The flower stamps on the background were painted with glossy accents and then sprinkled with glitter.


Enjoy
Sue
x

Thursday, 23 July 2009

And So We Come to S is for Spider


When I first saw the stamps by Lavinia, at the NEC back in November of last year, I fell in love with them and you can be sure that I will be collecting them in the future.

For my S is for Spider atc I have used the tiny slender mushrooms and the weeping willow leaves from Lavinia stamped in Stampin' Up basic grey. The grasses are from Sir Stamp-a-Lot and the spider is a little custom stamp from Andrew at Tanda. The image has been coloured using copic markers. The chipboard S was coloured with colourbox chalk ink and triple embossed with a tiny bit of glitter.

The set is coming together well now and I'm really pleased with how it's looking. Here's the set so far......


Enjoy!
Sue
x

Saturday, 11 July 2009

All Wrapped up!


DD2 is off to a birthday party tonight...so we've been hunting for the perfect pressie! Luckily DD2 worked out what her friend's favorite colour is and so we went through my stock of jewellery to see if there was anything she liked! DD2 found a necklace, ear rings and a key ring in the required shade of green. All I had to do was make a pretty presentation box and wrap them all up. I remembered that I had some lime green card, but when I found it, it was far too flimsy to make a box....On to plan B then....I decided that I would punch flowers out of the green card and use them to decorate a box made out of chocolate brown card..I had a few sheets of that and it was nice heavy weight card, perfect for box making! Result!


I cut two pieces of brown card so that one was slightly smaller than the other and stamped a floral flourish, from Laxmi Design, in a green colourbox chalk diagonally across the bigger piece as this was to become the top. This gave an effect similar to a watermark, but with just a little hint of green. My new stampin' up flower punch then came into its own....it's shape co-ordinated very well with the flower flourish.


I also punched some smaller flowers using another punch...I forget the name...I distressed the edges of the petals with the chalk ink and then put them all together on the box using a little green flower brad.


I had some chocolate off cuts left over from making the box, so I used them to make the gift tag.....


Then I thought....what to wrap it all in...I know I've got a bit of lime green raffia lying about somewhere, and some brown paper....DD1 is so into brown paper at the moment for her art and graphics course work so I thought it must be fashionable!..So I took a little brown paper and my Laxmi stamp and made some personalised wrapping paper!


I just hope she likes her pressie!
Sue
x

Thursday, 9 July 2009

P is for Play


P is for Play, well what would we all like to be doing...I know I'd like to be messing about at the seaside! Many happy days spent with my Dad rock pooling and making dams! So here is my "P" in the alphabet challenge. The P is stamped with sand from "A stamp in the hand" stamped on top of colourbox chalk inks and triple embossed with clear ep. The main image is a stampin' up stamp that has been water coloured with my trusty old (and I mean old) watercolour paints.

Thanks again for the challenge Linda!
Sue
x

Wednesday, 17 June 2009

Oh Daddy!


It's father's day on Sunday, so it seemed obvious that this week's Tanda Teaser should be to make a father's day card, or for those of you out there who no longer have their fathers around, a general man card. So far I've made cards for my husband and my dad.....I have the perfect stamp for fil, but it was confirmed yesterday that he is now in end stage renal failure and as I'm not sure if he will still be with us on Sunday, I'm leaving his card till the last possible moment. I feel, making his card now would just be tempting fate.

The card I made for my husband is stamped using Linda Luckin's new car stamps and Tanda man tracks, the retro background is stamped using stampin' up stamps. I coloured the image with copic markers and then painted glossy accents over the mini.


The card I made for my dad is a bit of fun....I stamped the "garden man" from Jolly Nation in fawn impress and then coloured him with copic markers. The stair part of the card was stamped in fawn impress with stones and little dots from Sir Stamp a Lot, a bit of a colour wash was also added using the same ink pad to give the impression of soil. I cut out a square of heavy duty acetate and using more stamps from Sir Stamp a Lot stamped the wisteria, bird, beans and vegetables using stazon. The bean poles were stamped using a straight line stamp from innovative stamp creations. Dad has always been a keen gardener, he studied botany at University and when he retired he volunteered at RHS Whisley. Hopefully he will like this card better than his birthday card, which he complained was ageist, due to the rocking chair!

Enjoy
Sue

Saturday, 6 June 2009

One that got away! Well almost!


If you read my blog you will know that I had a Stamping Up workshop recently. As a little thank you to Maggie, our demonstrator, I made a little coaster using the "Summer by the Sea" stamp set that I had bought from her previously. I'd seen some over on the splitcoasters website and fancied having a go. I bought a white marble tile from Tops Tiles for about 60p, not sure if they charged me the right amount, I though they were supposed to be about 80p. I stamped the image with a jet black impress dye based ink pad and then used my copic markers to colour the image. I then sealed this with artists fixative spray. This seemed to make the colours bleed a little bit, but gave the impression of a very loose watercolour painting. Overall it was quite a pleasing effect. The fixative does seem to have made the image waterproof as the black ink did not run when I put the tile under running water...have to say that I didn't rub it hard just in case!


So why was it the one that almost got away....well, silly me, I forgot to photograph it before presenting it to Maggie. All is not lost as Maggie photographed it and put it on her blog. You can see Maggies blog here

http://rubberstamping4fun.blogspot.com/

If you love SU products, I hope you will pop over there and see some of Maggie's work.

Sue
x

Friday, 22 May 2009

Stampin' Up Workshop


Yesterday saw a bit of me time so I had a few ladies over for a Stampin' up Workshop. Our demonstrator, Margaret Harris, showed us how to make the bag-o-lope and a card to match. Only 3 of us had stamped before, so it was a totally new experience for the others. Everyone, seemed to enjoy it, I'm just hoping that they decide to place some orders!

Sue
x