Sunday 27 February 2011

Q is for Quotes and Sayings


This week's challenge on the Alphabet challenge blog is Q is for Quotes and Sayings. Over the last couple of days I have been busy with the water colours, makes a change from Copic markers! When I was at mum's last week I watched a dvd on painting with acrylic inks and paints....whilst not watercolours I did think that I fancied getting back to splashing a bit of paint about. I even bought myself a tube of Payne's Gray. Having said that there wasn't a lot of splashing about on this card!...there is Payne's gray though!


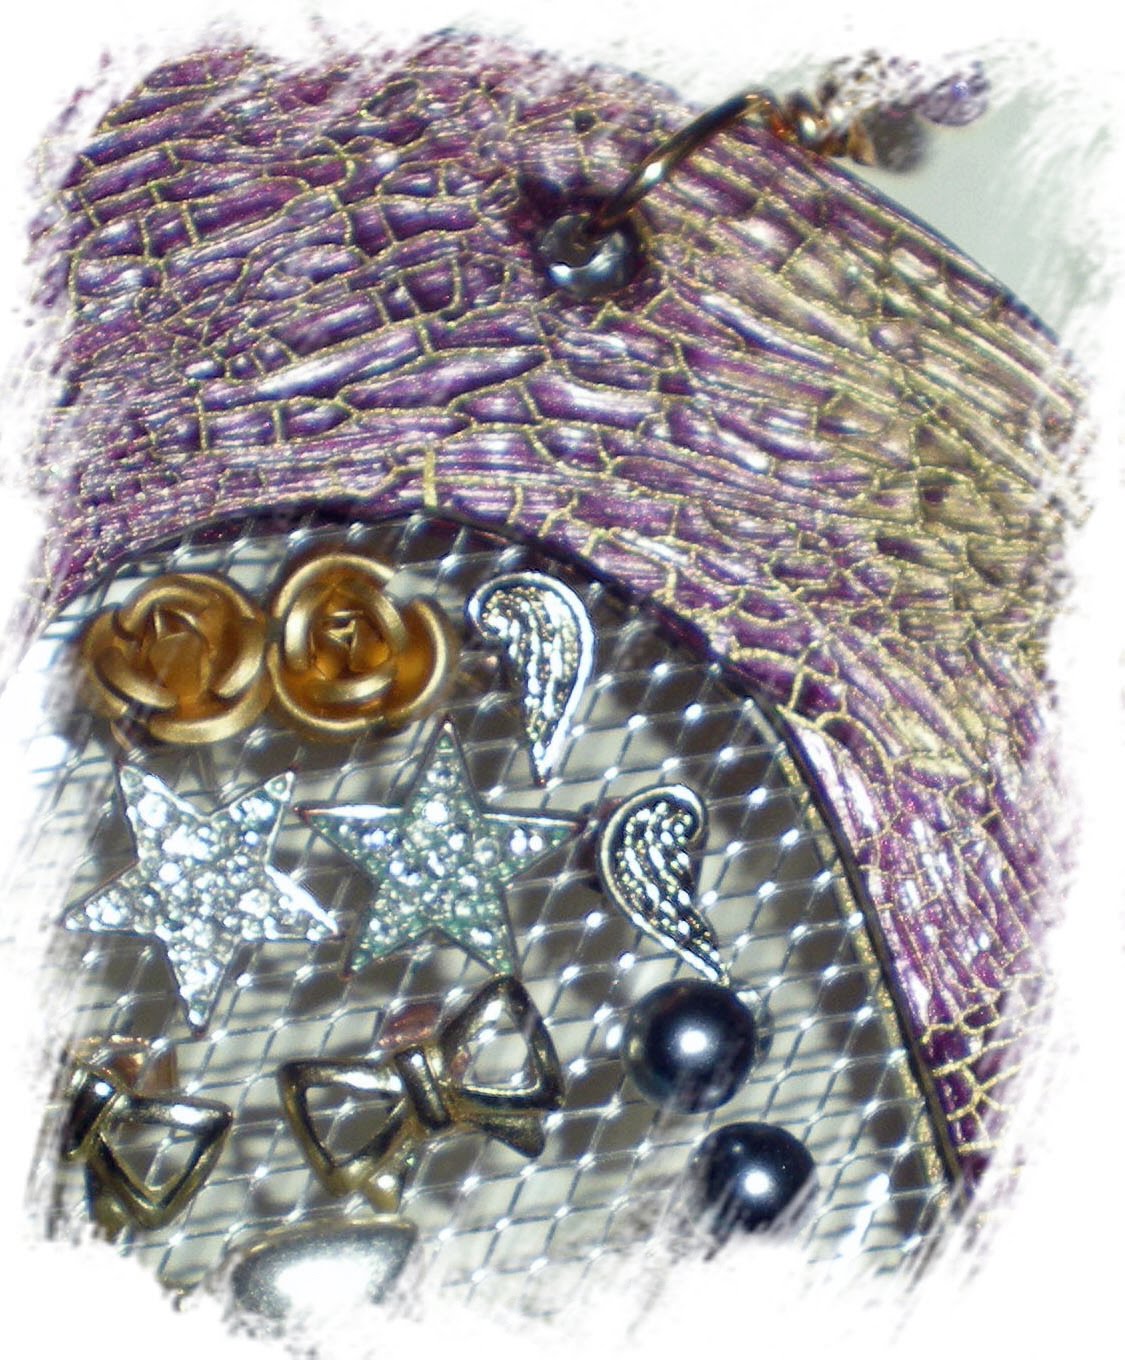
Last week I managed to make a trip to the Craft Barn....I have been wanting to go there for ages and last week I was practically driving past the door soooo I dragged the girls in kicking and screaming....the youngest was pleading with me not to spend too much time in there, but then the eldest realised that she could get loads of stuff for her art and graphics...so guess what...we ended up buying more for her than me....I did get a couple of Tim Holtz dies, some alcohol inks, a Martha Stewart round the corner punch and a crafty individuals stamp. I am pleased to say I have used everything I bought except for the stamp...(will use that later today probably) and the alcohol inks.


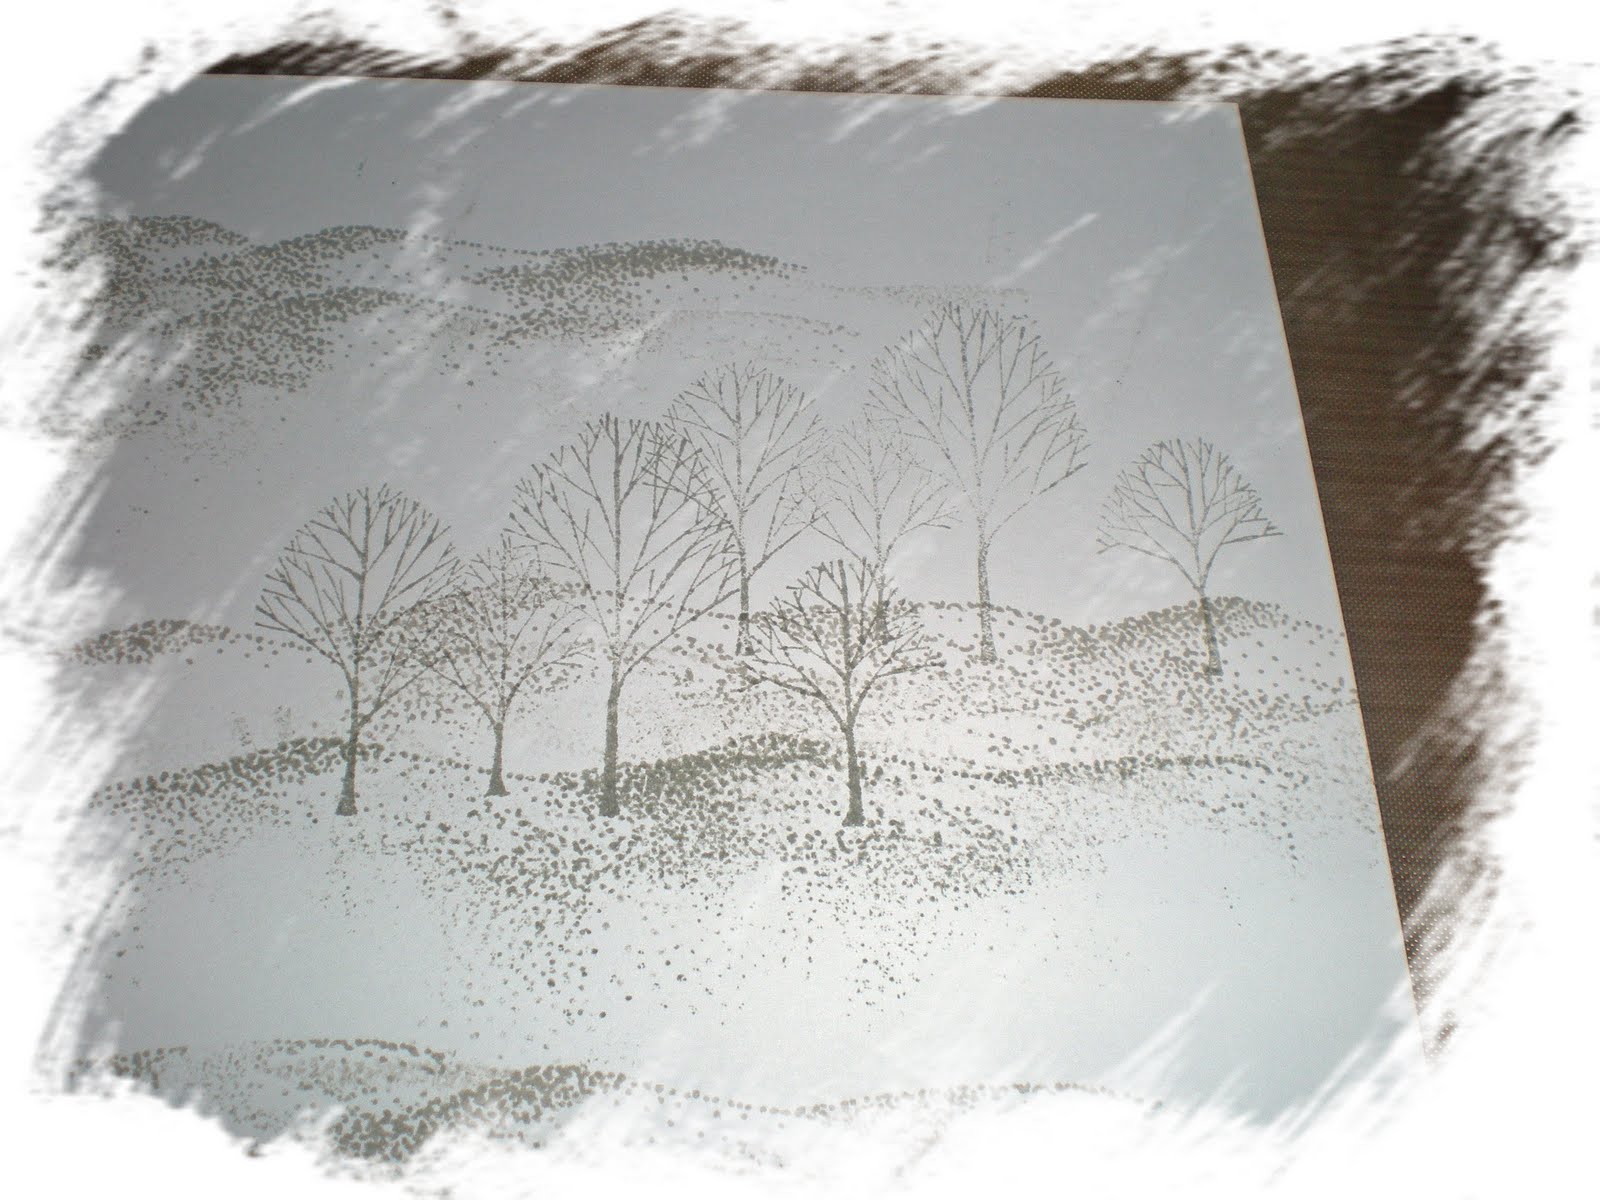
The stamps I used for my cards are from Paper Bag Studio and my dotty stamp of course! I really like this stamp and actually ended up making two cards, slightly different colourways, but very similar.


Friday 25 February 2011

Circles


This weeks challenge over on the Lili of the Valley Challenge blog is circles. This stamp is supposed to be a baby boy stamp, but I think it's great for very little people too! So this card is for my little nephew, Josh.
I've had the papers for ages...can't remember who they are by. The image was coloured using copic markers.

Saturday 19 February 2011

Tanda Teaser and Fave Colours


Sorry I've been a bit tied up hence the lack of blog postings...so I'm sorry if this is going to be a bit of a long post...but please read on.


Firstly a bit of info on the current Tanda Teaser.....this is a sample card that I have made for the Treasury in Kidderminster. I used distress inks (Shabby Shutters and Peeled Paint) to sponge the backgrounds using a Tim Holtz compass mask. The boot prints were stamped in Frayed Burlap, the crackle in Pumice Stone. The boot prints were given a wet look by using glossy accents. The compass was stamped in archival ink and then coated with glossy accents. The map was printed out from the computer, folded and stuck under the compass. Raffia was tied around the card to finish it off.


The next challenge card to show today is for the "LOTV Thursday challenge". This week it is favourite colours. The card I'm entering for this is one I've just made for my Mum.


Blues and Greens usually make up my fav colours, but I was really happy with the blues and cream/browns on this card. The stamp of course is LOTV Love Grows. Mum and dad are both keen gardeners and their birthdays are days apart so I actually made his and her's cards using this stamp in different colour ways. Dad's card is a bit more masculine of course.


The flowers on mum's card were made using Tim Holtz's tattered floral die, the tab was an SU punch, the papers were from the V&A inspired collection, the border punch was of course Martha Stewart and the colouring was done using copic markers.

Friday 11 February 2011

O is for Orange


This week's challenge on the alphabet blog is O is for orange...not a colour I normally go for, but just by chance Patty gave me some pretty fabby papers to make some sample cards for her. Orange just happened to predominant on a couple of the papers and I thought they went well with this new stamp.....a bit Bratz perhaps, but I reckon that they would appeal to the early teen market..I hope so coz DD2's friend is getting a very similar card for her birthday this weekend!


I've used distress inks for stamping (black soot and spiced marmalade), copics for colouring....the hydrangeas were coloured with distress inks and stamped with my dotty stamp....see previous post.
Stamps and papers are all available from the Treasury....again see previous post for details.

Saturday 5 February 2011

Tutorial, How to Use my New Stamp!


As mentioned in an earlier post I have been working on a new stamp. Since making some sample cards for the Treasury in Kidderminster, Patty has said that she could sell the background stamp that I used over and over again. Unfortunately we cannot find the stamps any more so Patty asked me if I could design one to do the job. After a couple of weeks this is what I came up with. By using different parts of the stamp you can create different effects....


So how do you use the stamp..firstly take your main image..I have used a digital download from charmed crafts, cut out using nesties and then sponged around the edges with weathered wood distress ink.


I inked up the dotty side of the stamp with weathered wood and started to stamp around the main image.


I repeated this until all the edges were stamped.


This is the final result and the card is now ready to be assembled.


Alternatively by using the opposite side of the stamp you can get a totally different look. I took a plain piece of card and Pumice Stone distress ink.


I inked the wavy side of the stamp and then stamped repeatedly so as to build up a series of hills. As the stamp is transparent it is very easy to position the hills to get the desired effect. To get the best effect don't ink the whole stamp at once.


Once you have got the desired effect you can stamp your other images over the top. Here I've used Grove of Trees from Sir Stamp-a-lot.

This dotty background stamp is only available from "The Treasury". So if you fancy getting your hands on it you will need to ring Patty on 01562 510203.

The stamp measures approximately 8cm x 4cm and will cost you £3.75. Please note that it doesn't come with a Clarity handle.

Thursday 3 February 2011

Just for Fun...Heart felt wings


Zoe and friends have set up a new challenge...."Just for Fun" and that is all it is supposed to be...go check out their blog.

I really wanted to support them in their first challenge, but couldn't commit...too much going on here at the moment, but...couldn't believe my luck....it's a long story....


My eldest wanted something to store her ear ring studs....couldn't find anything anywhere....so mum gets creative...two heart frames from Tando sandwiched with wire mesh..bit of eco paint and croco...few more bits and pieces...just getting on with it and eldest arrives back from work early..it was supposed to be a surprise pressie for her 17th birthday on Saturday..ho hum so she's had her pressie a bit early! She's loaded this one already and wants another...makes it all worthwhile doesn't it!


If you look closely the wings are Em's ear rings....wings and dragonflys! Jammy or what..hope it counts!


Sue


x

Wednesday 2 February 2011

Share the Love over on the Tanda Teaser


As Valentines day is coming soon I've set a love theme over on the "Tanda Teaser Blog". However, it is more general than purely Valentines as I know that not everyone has a partner. So the idea is to make something to give to someone to show that they are loved.

For my card I used the Tanda beyond alphabet set (kept whole to use as a background stamp)...pinched that idea from the talented Sheila Oliver"
I stamped in versamark onto water colour paper and heat embossed in detail silver ep. I then painted over the whole thing with brusho inks.

The chipboard V was triple embossed with moonglow ep and holographic glitter, and then layered onto mulberry paper. If the V is like a comet, the comet's tail was cut from some more inked watercolour paper and the letters were then stamped onto it so that together with the V it formed the word "Valentine". The scroll border is a Tim Holtz die. I chose the colours as they are my hubby's favorites.

I also made a card for my eldest daughter to give to her boyfriend....I'm actually happier with this one than the first, but it doesn't use Tanda stamps....just an inca stamp that I've had for ages.


The stamped image is coloured with copics and then distressed around the edges with weathered wood distress ink....

....oh now there's a thing....actually I've used a custom Tanda stamp....can you see the dots? Do you remember Field of sky and Sand by A Stamp in the Hand..I've been using them on the sample cards I made for the Treasury in Kidderminster and, as a result, Patty has had numerous requests to sell them in the shop. We have searched the internet and cannot find them so we think they were discontinued. So Patty asked if I could draw something similar, not the same obviously for copyright reasons. Well it took me a couple of weeks to get it right, but I'm really pleased with it especially as I can get a hilly effect from one side of the stamp and the dots from the other. Andrew is producing 30 polymer stamps for Patty to sell in the shop. I have no idea how much she will charge for them or when they will be ready, but watch this space....

Sorry about that....lost the plot a bit there! LOL! So back to the card. I coated one of the hearts with glossy accents to give it a bit of dimension. I also like the professional finish it gives a card. The image and co-ordinating card were cut out using spellbinders nesties. The ribbon is a wired sheer ribbon from fantastic ribbons...I will have to get some more of this one next time I go to the NEC!
Just spotted the challenge over on the Tuesday Taggers blog" and as their challenge is to feel-lurrvvvveee I thought I would share this second card with them. This week's challenge winner will win a prize donated by One Stop Card Crafts" so why not have a go at two challenge's in one!

Bit of a mammoth post there!

Hope you can join in with the Teaser over on the Tanda Blog!

Sue
x