Showing posts with label Jewellery. Show all posts

Tuesday, 29 November 2011

Pretty in Pink!


Hi There. I 've just got back from a lovely break at one of the best Spa Hotels in the UK, now another 3 days behind, but it was a nice break all the same!

Before I left I made this Pretty pink key ring as my next Creative Expressions design piece. I didn't quite have this in mind when I started...I was thinking of making a pendent using the Eiffel Tower image from the Just Rite Cling stamps that we are demonstrating this month, but when I went through my stash my ideas changed and this where I ended up. My girls are now fighting over it so I guess it's a hit.

The fob is made from Stampboard. This particular piece was already coloured and ready to go....an aborted previous project...well you know what they say about crafters! I do remember that it was coloured using Color Box chalk inks as these stay where you put them when you heat emboss over the top. I stamped the postage stamp and the corner flourish in Jet Black Archival ink (again this will stay in place when embossed). Using a cropadile, I punched a hole in the top corner and inserted an eyelet before Triple embossing with clear embossing powder. To get a really smooth finish I like to use the normal powder rather than the coarser powders more usually used for this technique.


I have attached a small loop of distressed silver chain and then attached pearls and crystal beads to add a bit of sparkle.

I would like to enter this into several challenges as follows.....

"Fussy and Fancy - Make a gift not a card"

"Samuel Taylor's - December Challenge, anything goes"

"Creative Inspirations Paint - Anything but a card"

Thursday, 3 February 2011

Just for Fun...Heart felt wings


Zoe and friends have set up a new challenge...."Just for Fun" and that is all it is supposed to be...go check out their blog.

I really wanted to support them in their first challenge, but couldn't commit...too much going on here at the moment, but...couldn't believe my luck....it's a long story....


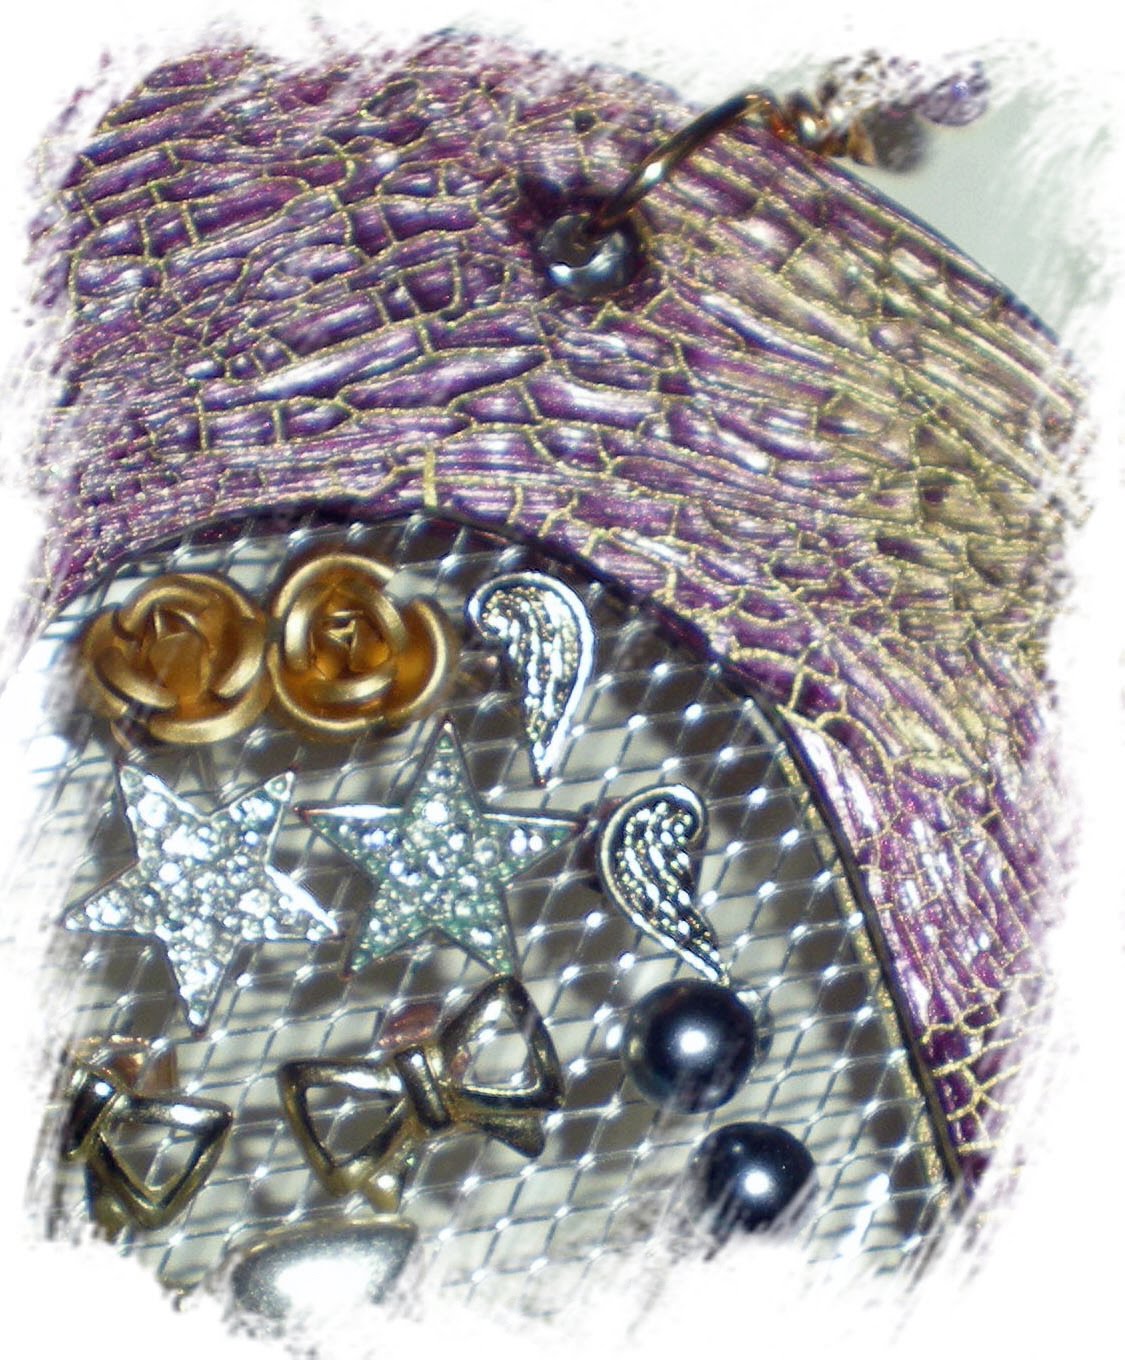
My eldest wanted something to store her ear ring studs....couldn't find anything anywhere....so mum gets creative...two heart frames from Tando sandwiched with wire mesh..bit of eco paint and croco...few more bits and pieces...just getting on with it and eldest arrives back from work early..it was supposed to be a surprise pressie for her 17th birthday on Saturday..ho hum so she's had her pressie a bit early! She's loaded this one already and wants another...makes it all worthwhile doesn't it!


If you look closely the wings are Em's ear rings....wings and dragonflys! Jammy or what..hope it counts!


Sue


x

Friday, 22 October 2010

Z for Zig Zag


This week sees the end of another alphabet with Z for Zig Zag. I just splashed out on my second Martha Stewart border punch and realised that it would be perfect for this challenge. I've used it for three projects today, but I can only share one of them tonight...the other two are for upcoming Tanda Teasers.


So my entry for Z for Zig Zag is the box that I made for a Birthday present for one of my daughter's friends. The present was...you guessed it, a necklace.....


Tuesday, 5 October 2010

Pandora's Box


"Tuesday Taggers" theme this week is Pandora's box.....how lucky for me was that seeing as I just made a pressie for one of my good friends and boxed it! I didn't photograph the pressie in the box..just the pressies and the boxes separately, so I hope that's OK.
The necklace, bracelet and ear-rings were made using sterling silver beads and freshwater pearls. Anyone who reads my blog and Zoe especially will recognise the card used for the box....this corrugated card is absolutely fabulous for boxes...unfortunately I think that my local card shop cannot get any more. They have a fabulous deal on end of line...10p per A4 sheet, but once it's gone it's gone!


Nancy looked absolutely fabulous at her party, at least 10 years younger than her real age! The words on the tags on her card were "Forty? Be forever young!" Very apt! It was a great party, her father in law sang for us all (he made the final 36 in the very first X factor and that was after he had throat cancer...What an inspirational guy!) His Tom Jones impersonation was brilliant! Then Nancy's eldest son, Dillan, played with his band, and they were great too. Her younger son had us all wowed with his break dancing...I think Sarah is regretting not going now! We tried to get Emma up to sing with Dillan too, but she chickened out! Nancy and I are hoping that Em and Dillan might perform together at the Mars Bar in Worcester in the near future....nerves and homework permitting!
Sue
x

Monday, 5 July 2010

J is for Jewels!

What a week! I've had no time to make any cards what with Em's prom...I was still doing the hem on the day! And then it was Henley! So as you will see I was over the moon that this week's alphabet challenge was "J is for Jewels"....and best of all this didn't necessarily mean on cards!

This is Em just before we left for the prom. We decided that she needed straps and as a compromise she agreed to a halterneck made of pearls. I also couched a string of tiny pearls on the bottom edge of the drape over her bust.....I also made her a bracelet of three stands of pearls to match the pearls on her dress
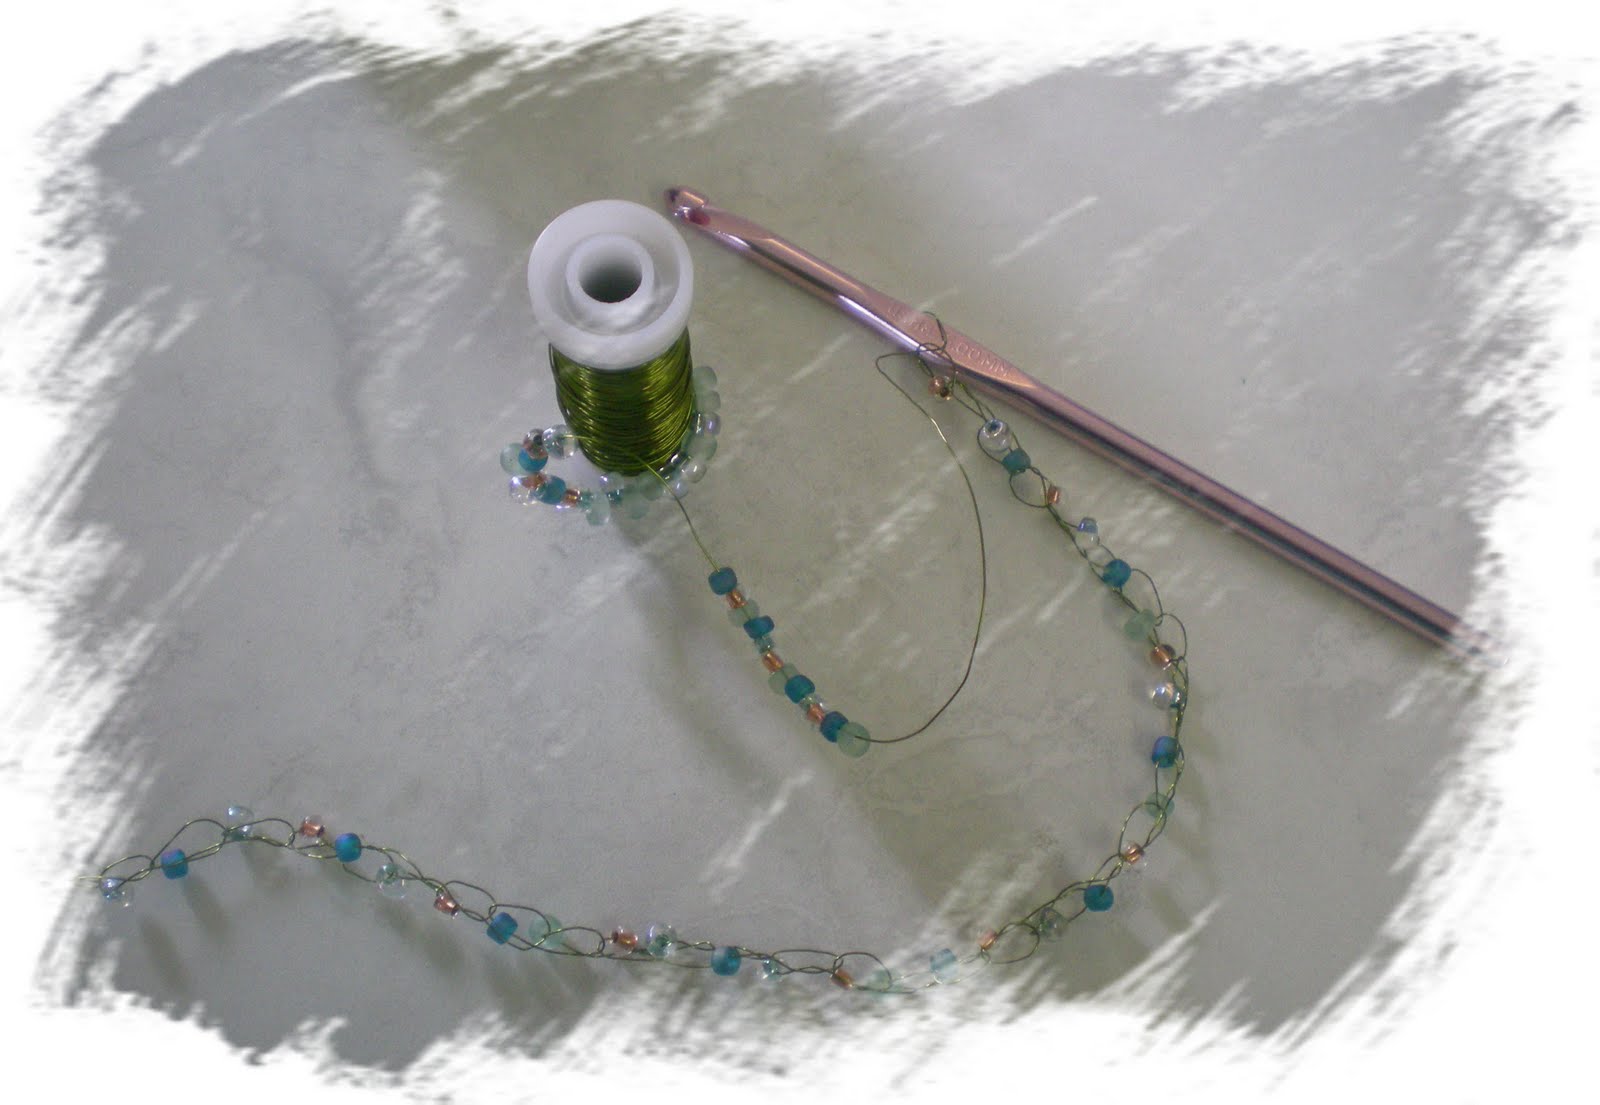
The prom was last Wednesday, then on Thursday we took Em and her friend Kate to Henley. It was the first time Em had been able to come...she had a great time and wants to come again next year. By Friday she was exhausted! This is Em and Kate in Stewards. Henley is a great excuse for some new jewellery! Kate wanted a bracelet and ear rings to match her dress so I got my beads out. Her bracelet was made by crocheting with fine wire. I threaded various blue beads onto the wire before crocheting....similar to my altered yeast tin in an earlier post.


My final jewelled piece for the challenge is a pearl necklace, bracelet and ear rings that I made for me to wear at Henley...I bought the beads at the NEC earlier this year, all the findings are sterling silver.

Friday, 11 June 2010

Who's for a makeover?

OK so this is going to be a bit of a mammoth post...lots of steps and lots of photos......and from my previous experiences with blogger this week I could well be bald by the time I get to the end of the post!

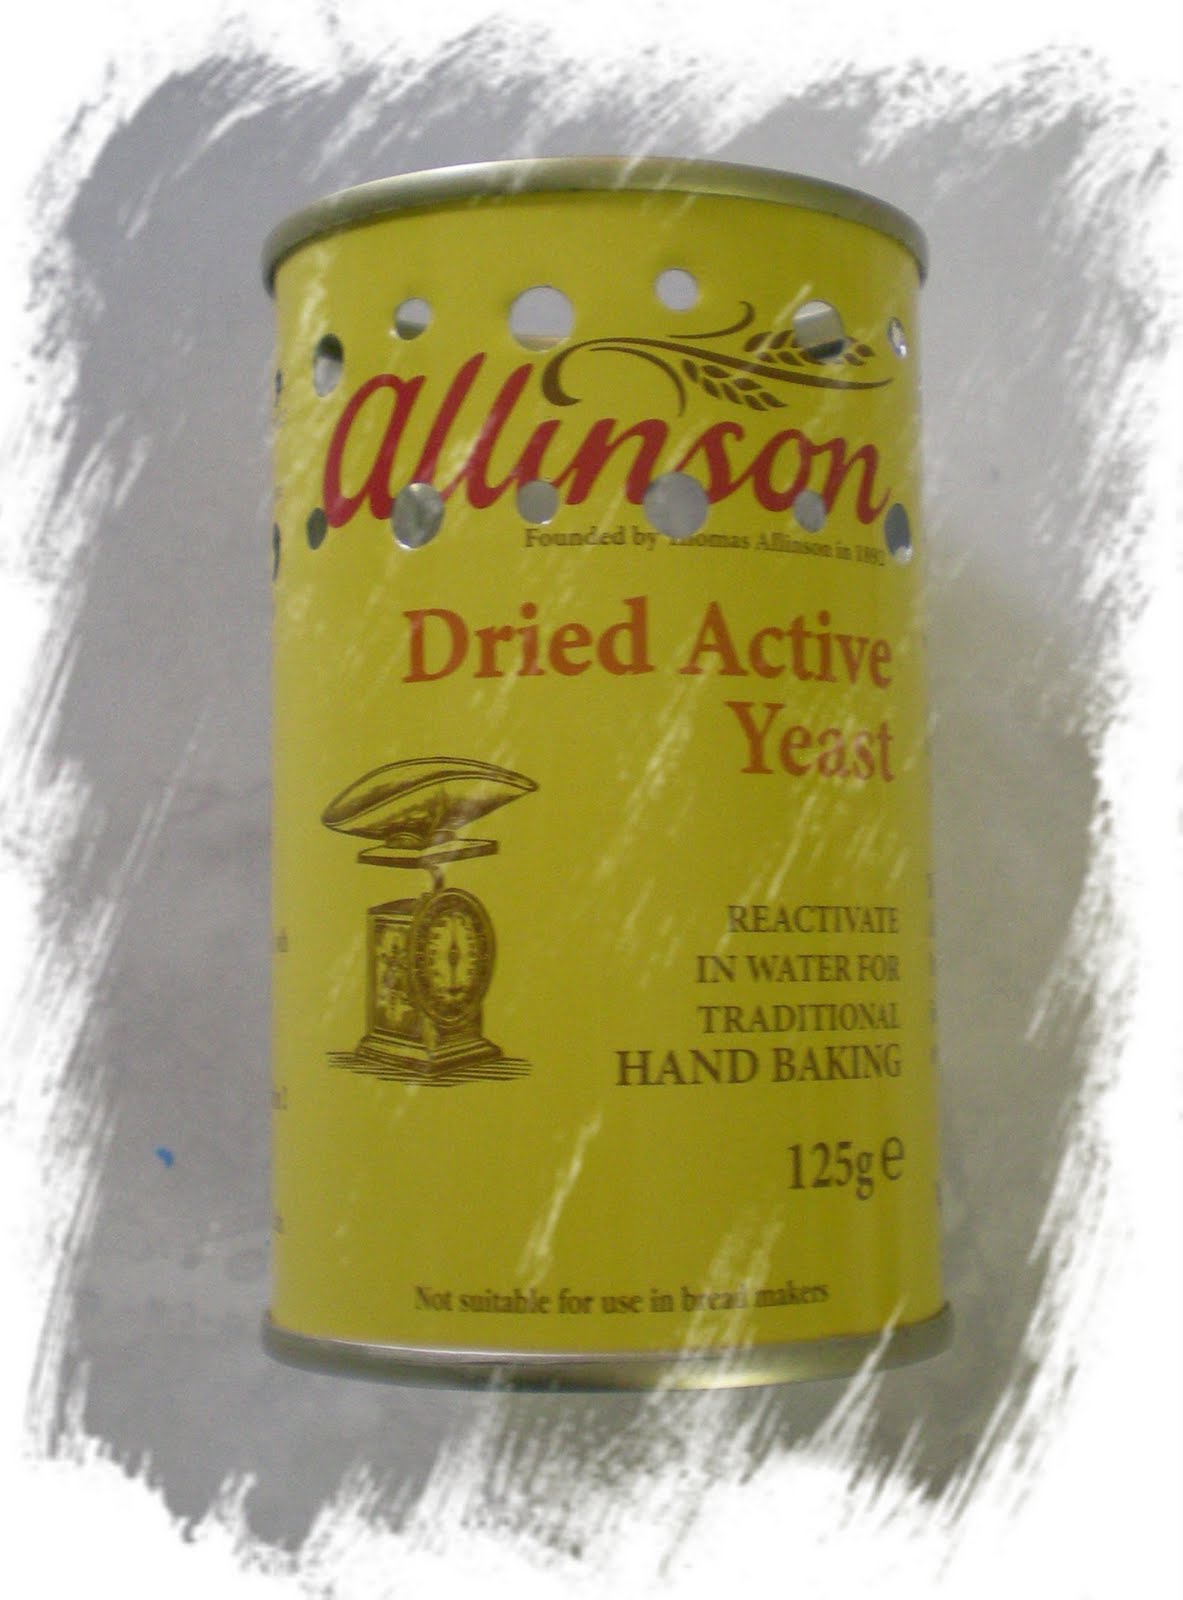
This is where I started...an empty yeast tin...I punched holes around the top of the tin using my Crop-a-dile. Two small ones opposite each other at the very top (these will be used to hang the voltive) then two rows of holes just below....


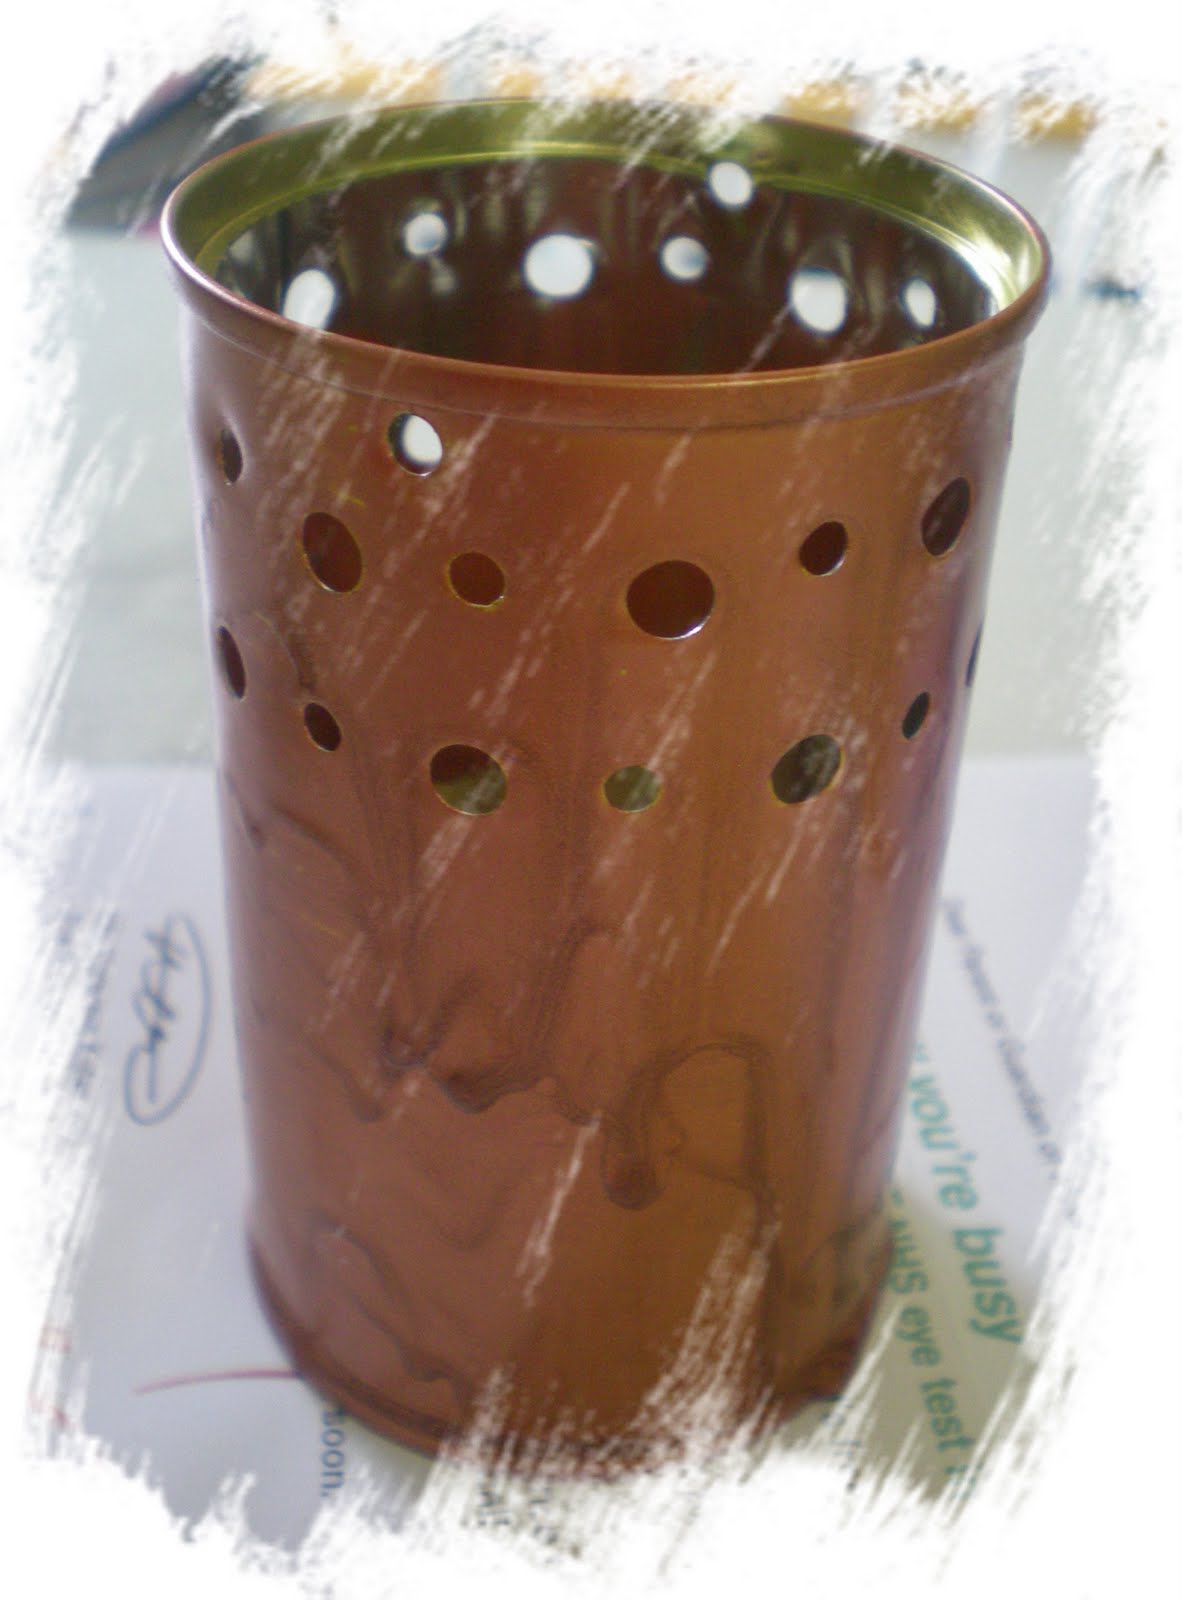
The next step was to coat the entire tin with copper precious metal paint...don't worry if it runs as this is just the base coat for the crackle paint applied later. Allow this to dry completely.


For the next step I smeared Viva Ferro paint around the middle section of the tin then it rolled over my damp Tanda Klimt border stamp to make an debossed impression in the Ferro paint. I then allowed this to dry. NB it is very important to clean the stamp straight away otherwise it will be completely ruined!


Using my fingers I worked various acrylic paints into the Ferro and finished off with some more precious metal paints again using my fingers again this was allowed to dry


Once this was dry I plastered the bottom section of the tin with a thick layer of Viva Croco paint. Using a spatula I got a reasonable smooth finish this was allowed to dry and crack. Then I plastered more Croco paint around the top of the tin. This time the holes were a little tricky so I decided to to the equivalent of the snow icing on Christmas cakes, you know the one where you bounce the palette knife up and down to deliberately get a rough texture....this way my holes reappeared!
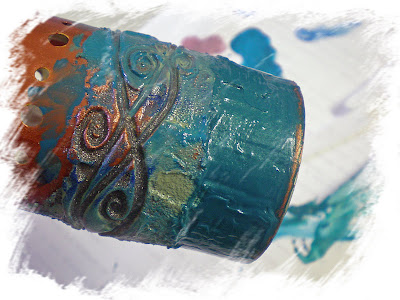


When everything was dry I found that some of the cracks had gone all the way back to the tin in places so I rubbed some more acrylic and precious metal paints into the cracks and then finished off with a few spritzes of glimmer mist. I touched up the rims of the tin with copper precious metal paint and then my tin was ready for the next stage.......


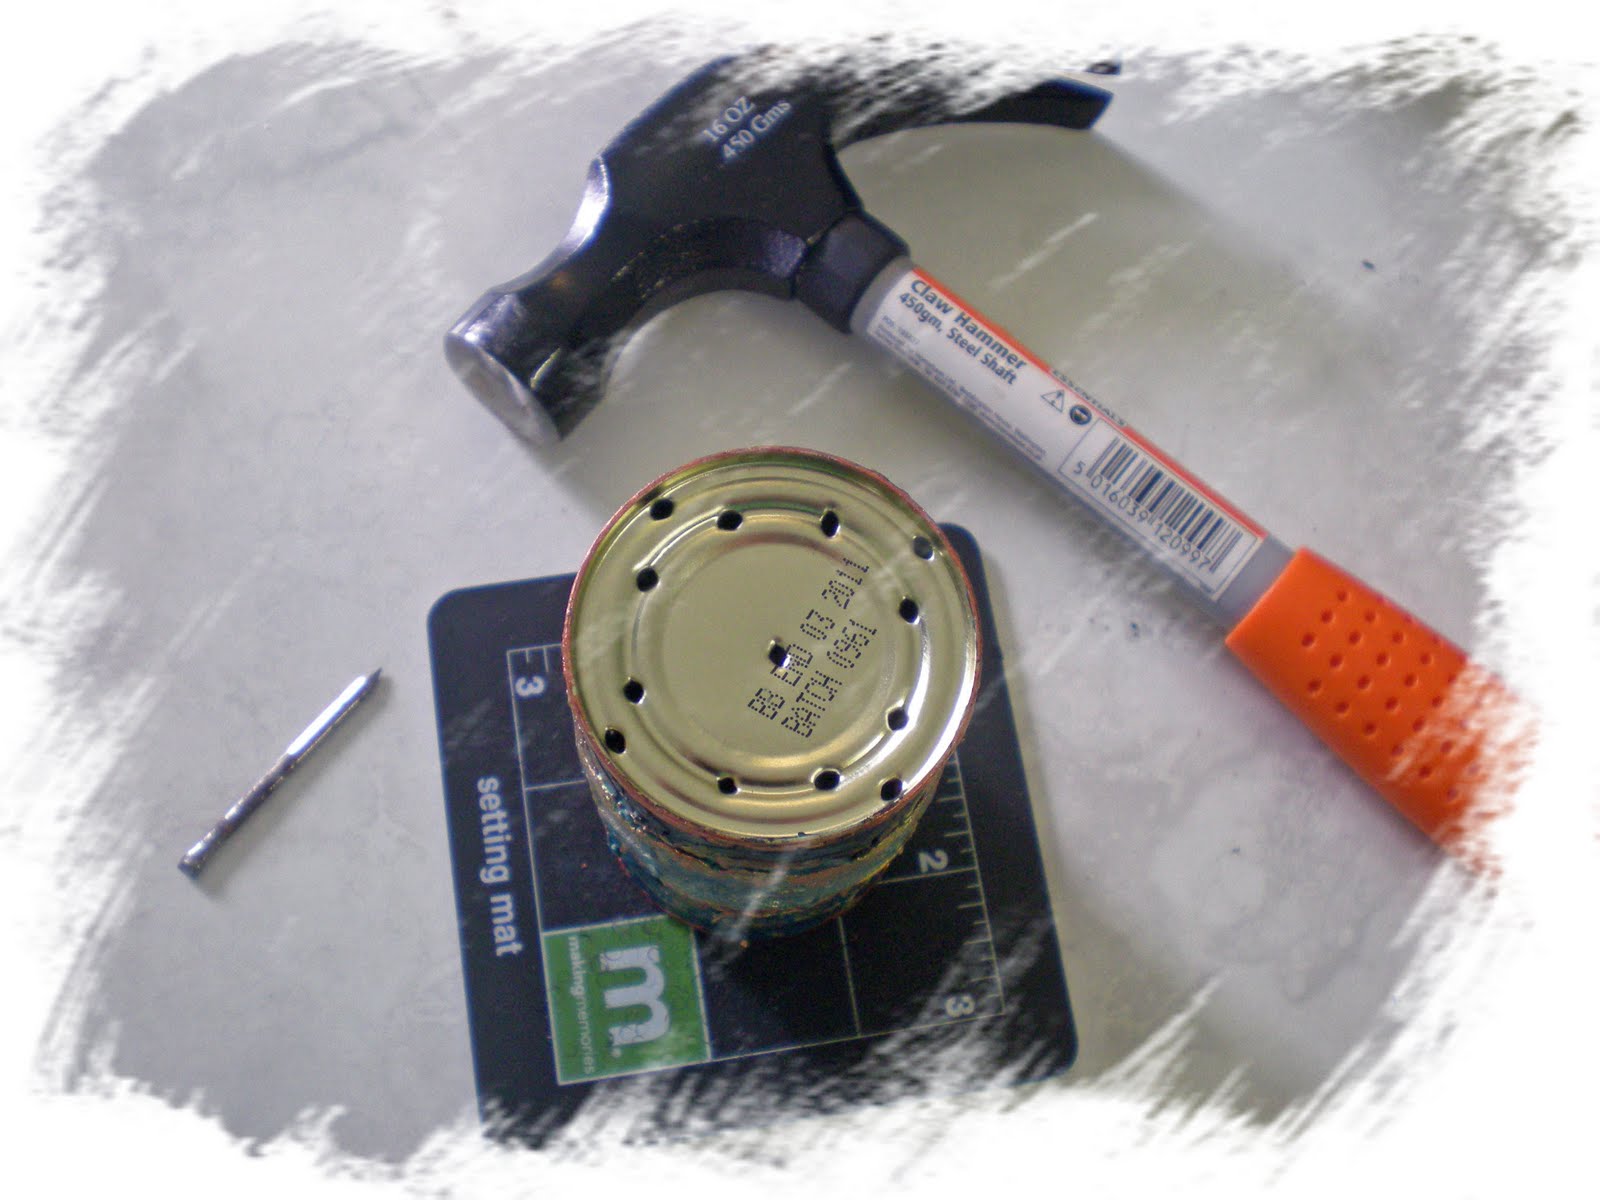
I decided that I probably needed some more holes in my tin so that air could circulate enough to let the night light burn efficiently. I thought that holes in the bottom would allow cool air to be sucked in and the holes at the top would allow the hot air out so I punched some holes using a hammer and a large nail.....


Now it was time to add some more decoration. I threaded some copper lined seed beads onto some fine olive jewellery wire. This was then wrapped and threaded though the top row of holes then tied off inside the tin.


Using a wire jig I bent some thick copper wire in a series of loops to form the handle of the voltive..each time I made a loop, I simply lifted it off the jig and moved it along to make the next loop, this way I got nice even loops. Make sure you make an odd number of loops otherwise your voltive will not hang properly.


I made 7 loops on my handle. Here it is ready to be attached to my tin.....


I passed my wire through the two small holes (already mentioned in step 1) and then wound two more loops on the outside of the tin. I was going to dangle some beads from these two loops but then I changed my mind....


I decided to use my olive jewellery wire and do some crochet....I threaded some pretty co-ordinating beads onto the wire, then using a large crochet hook I did a simple chain stitch pulling a bead into each stitch...


this was then laced through the loops of the handle ....et Voila....a pretty night light, perfect for all the lovely evenings we hope to have this summer...fingers crossed.

I cannot guarantee how weatherproof this will be so I'm keeping mine indoors!

I'm really peased with how this turned out...it was a bit of an experiment and I had no idea how it would turn out from one stage to the next.

I hope that this little project has inspired you to alter a tin of some kind or to use any of the techniques I have used, it would be great to see what other people do with these ideas!

Sue
x

Thursday, 13 May 2010

Prom Dress Blues!


S***, S***, S***!!!


DD1's Prom dress almost finished...yes darling...the boning will keep the dress up!....oh no it won't...oh yes it will....oh no it won't..whoops oh no it doesn't!!!... doesn't matter how tight it is, it's still not staying up...so we need straps....but MuuuuMMMM! I soooo don't want straps!...


Need to be a bit creative here....she wants to wear pearls...so I think we are going to make the straps from pearls and integrate the straps with a pearl necklace....from I'm not wearing that she's a bit more interested ....watch this space!



At least the tiara is made!......


And the hand bag is sorted


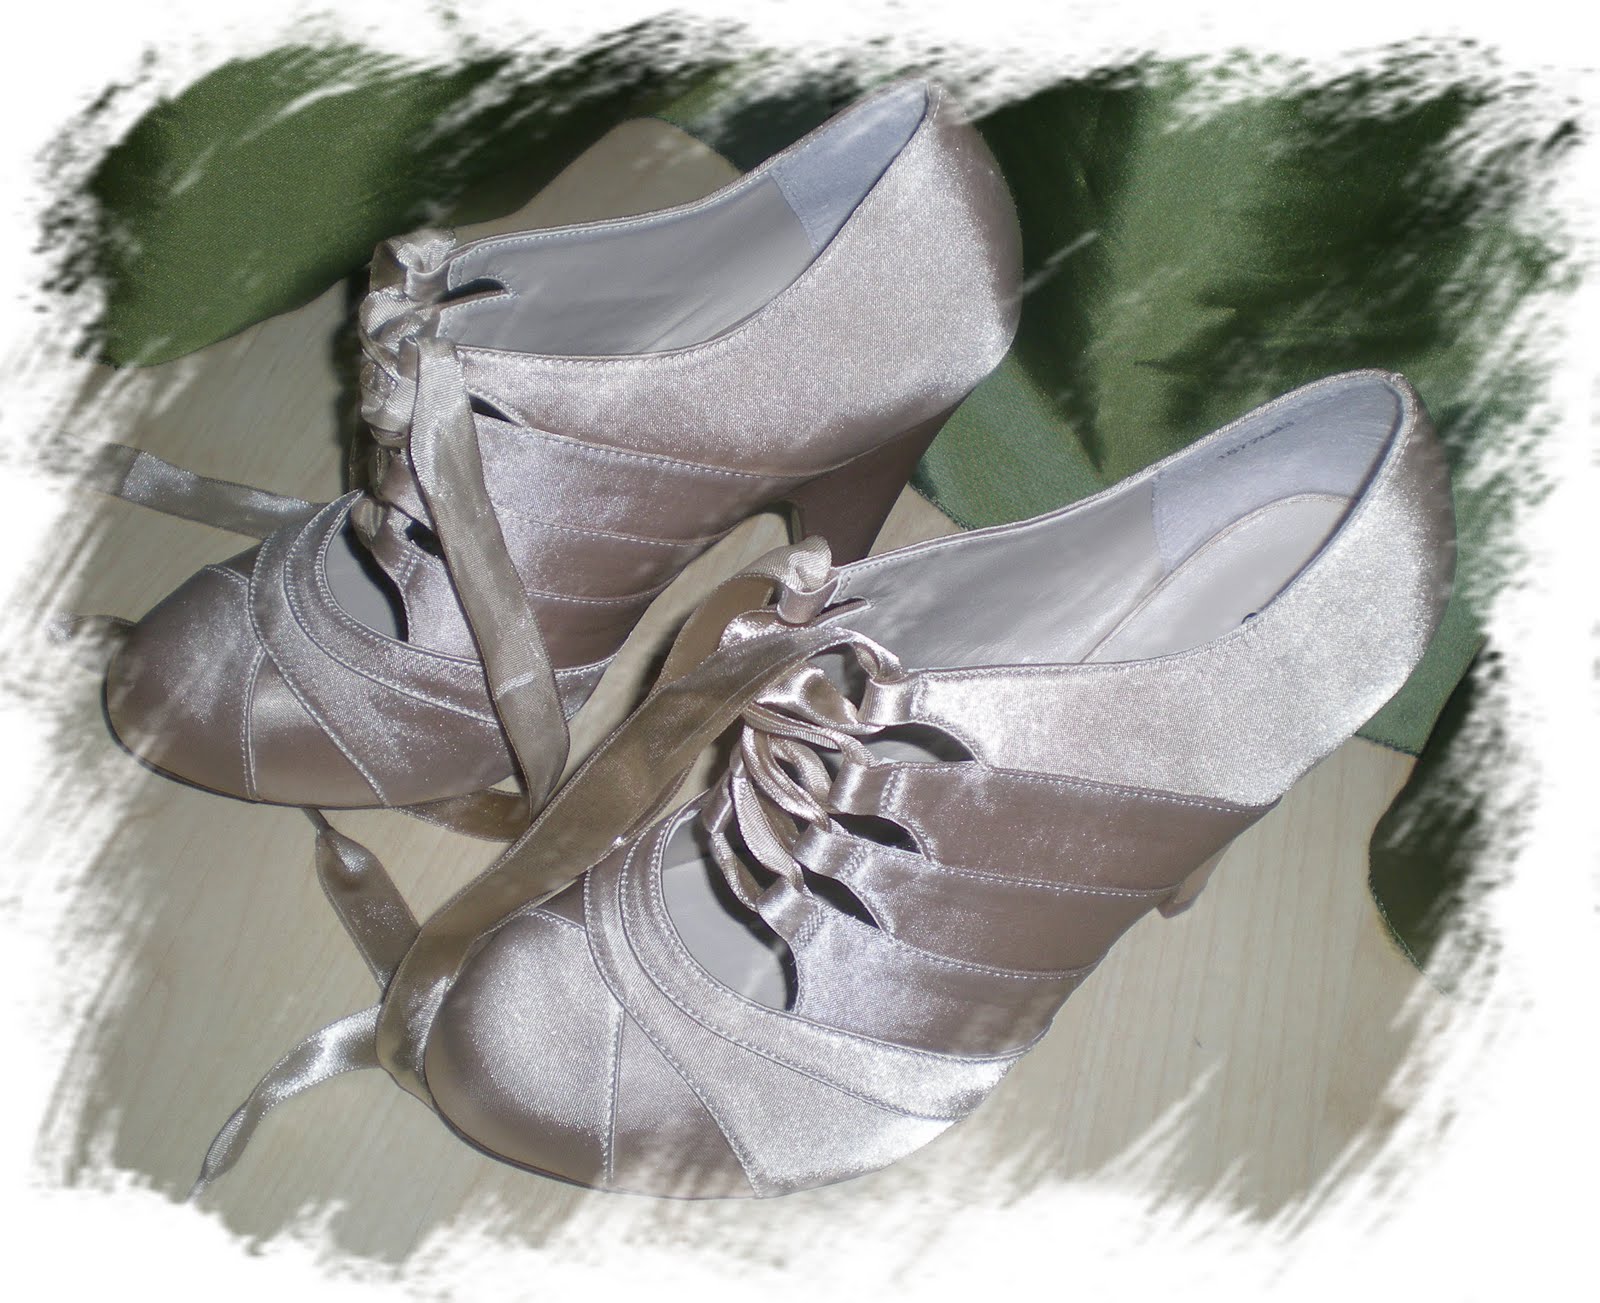
as are the shoes


the shoes were one on the biggest headaches...super wide feet are not conducive to pretty shoes, but I think we hit the jackpot with these!

Fingers crossed for the pearl strap route!!
Sue
x

Saturday, 11 July 2009

All Wrapped up!


DD2 is off to a birthday party tonight...so we've been hunting for the perfect pressie! Luckily DD2 worked out what her friend's favorite colour is and so we went through my stock of jewellery to see if there was anything she liked! DD2 found a necklace, ear rings and a key ring in the required shade of green. All I had to do was make a pretty presentation box and wrap them all up. I remembered that I had some lime green card, but when I found it, it was far too flimsy to make a box....On to plan B then....I decided that I would punch flowers out of the green card and use them to decorate a box made out of chocolate brown card..I had a few sheets of that and it was nice heavy weight card, perfect for box making! Result!


I cut two pieces of brown card so that one was slightly smaller than the other and stamped a floral flourish, from Laxmi Design, in a green colourbox chalk diagonally across the bigger piece as this was to become the top. This gave an effect similar to a watermark, but with just a little hint of green. My new stampin' up flower punch then came into its own....it's shape co-ordinated very well with the flower flourish.


I also punched some smaller flowers using another punch...I forget the name...I distressed the edges of the petals with the chalk ink and then put them all together on the box using a little green flower brad.


I had some chocolate off cuts left over from making the box, so I used them to make the gift tag.....


Then I thought....what to wrap it all in...I know I've got a bit of lime green raffia lying about somewhere, and some brown paper....DD1 is so into brown paper at the moment for her art and graphics course work so I thought it must be fashionable!..So I took a little brown paper and my Laxmi stamp and made some personalised wrapping paper!


I just hope she likes her pressie!
Sue
x