Thursday, 24 November 2011

Just For You!


This month it's a bit different for the Creative Expressions Design team, this time we've been given the "Bon Voyage set from JustRite Stamps". These stamps are designed to work in conjunction with Spellbinders dies. I haven't got the perfect die for this set, but the lacy oval die seems to work reasonably well.

For a change I thought I would make something other than a card...hence...a pillow box..loads going on here...The box was made using card that I'd stamped and distressed using, stormy skies, black soot and weathered wood. I used a strip of designer paper that I stamped and distressed as per the main box. The label was stamped with Chipped Sapphire Distress ink (For You was from the rambling rose u mount set). The flower and leaves were die cut using Spellbinders Rose Creations and Foliage dies. A silver brad, a bit of silver krylon pen and some glossy accents finish the project off.

Oh almost forgot...fusible fibres and gunmetal stickles also got a little bit involved too..

I would like to enter this into several challenges as follows:

"One Stop Craft - Colour Challenge Blue"

"Rogue Redhead Designs - Dress Down, one designer paper"..you can't see it very well, it's the band wrapped around the pillow box, but I promise it is there!

"Squiggles and giggles - anything but a card"

"Fussy and Fancy - Make a gift anything but a card"

"Pile it On - Anything with a P...P for Pillow box and Paris"

"Hooked on Crafts - Punches and or die cuts"

"Lexi's Creations - No straight edges"

"My Craft Spot - Hand made flower power"

Wednesday, 23 November 2011

Keeping it Simple!


Seriously, I need to keep things simple....Christmas is galloping towards us and I still need to make loads of Christmas cards! So I decided that one layer might be the answer....sounds easy but I have to say that it took a few experiments to get it right, but once you get the correct colour balance etc....you're off....serious batch process to create something that still looks pretty good. I still need to make the inserts but I am feeling pretty smug as I almost have enough Christmas cards done...a bit of natural wastage in the last year or so, so the address list has got smaller.

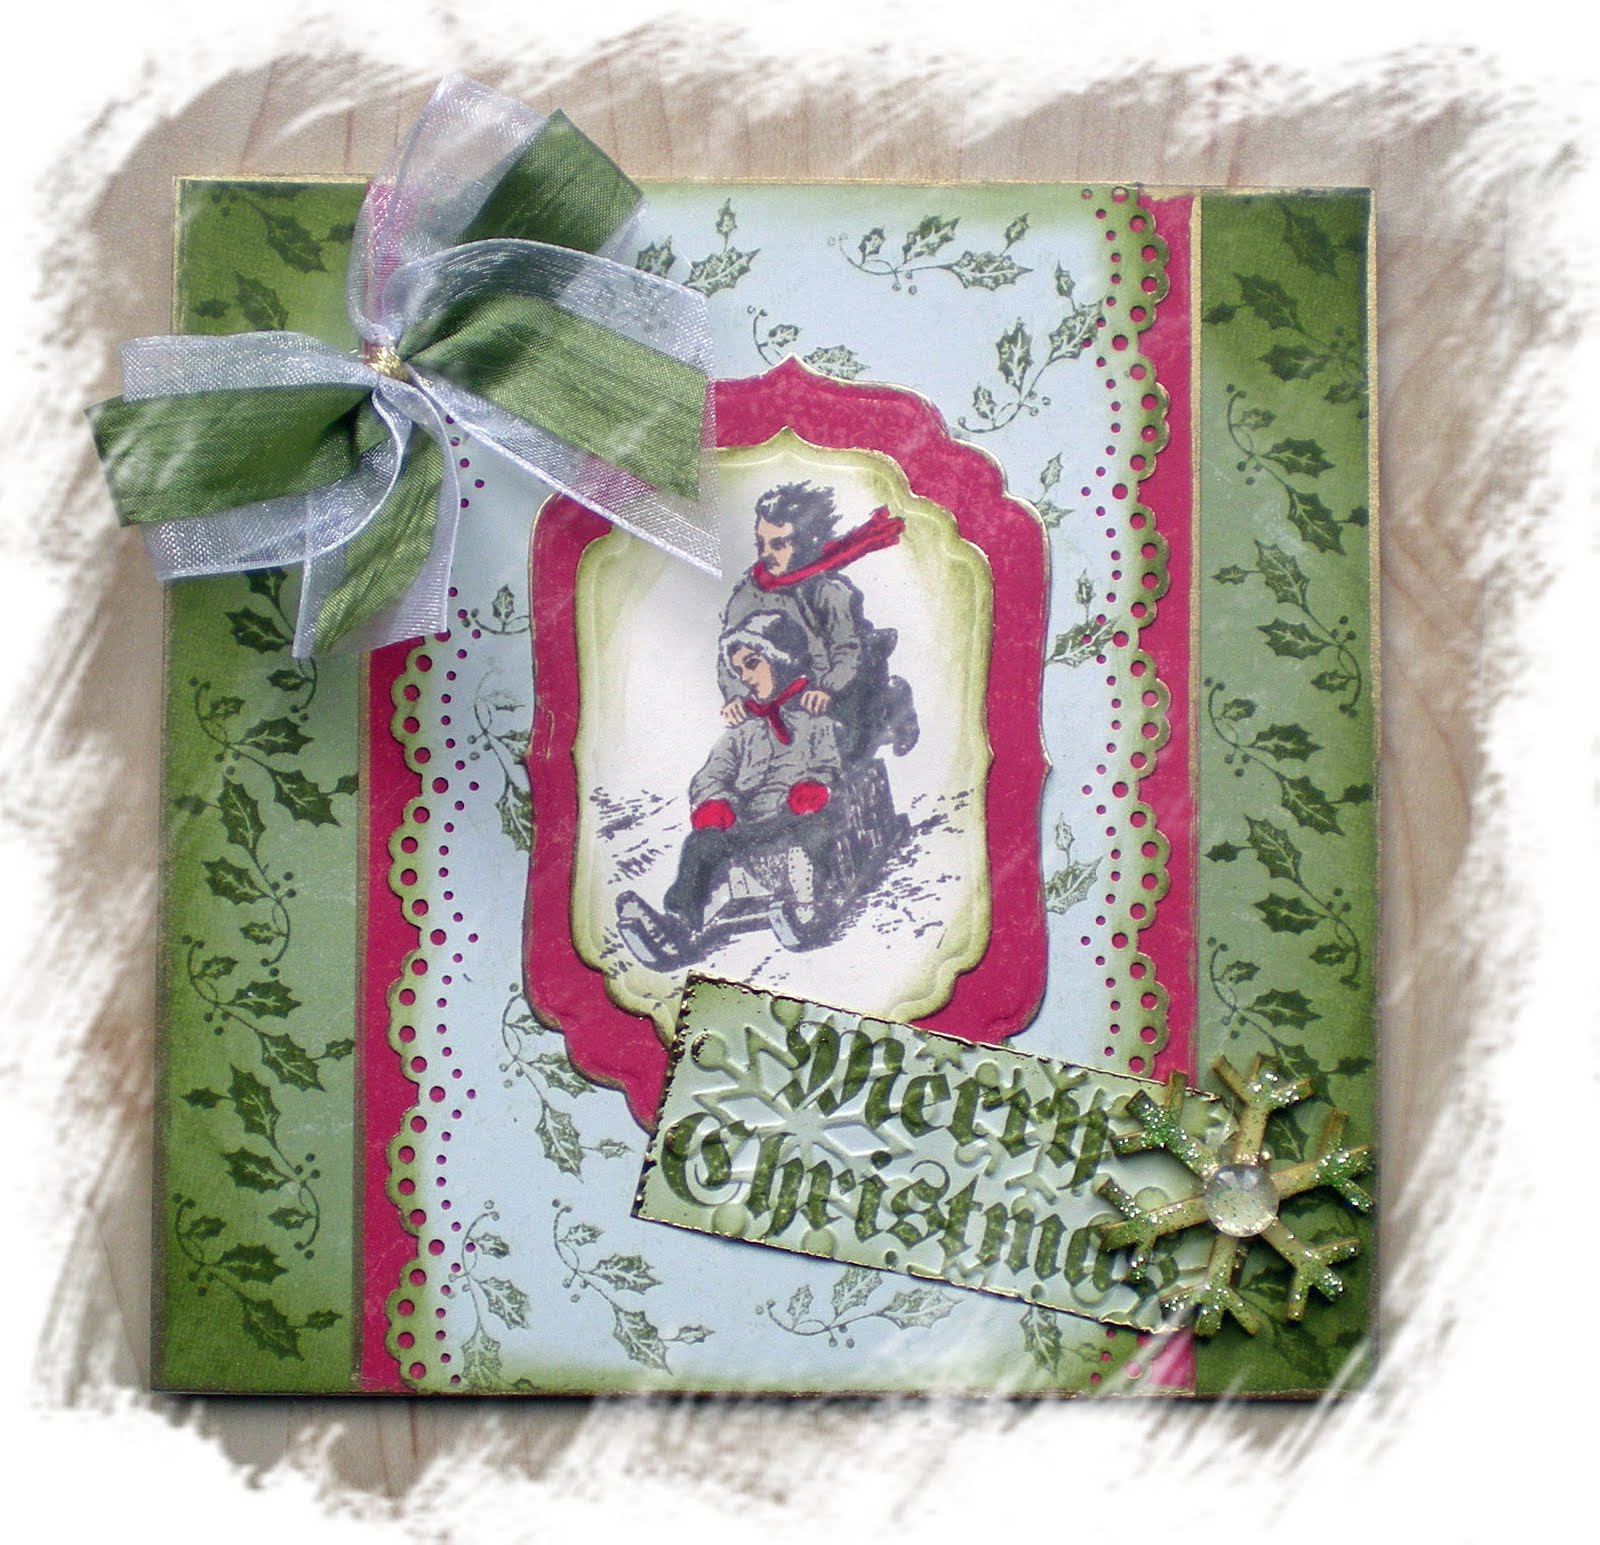
For both cards I stamped the holly stamps in Versafine Olympia Green, the berries and other red stuff is stamped using festive berries (one of the limited edition Distress inks).

On the Merry and Bright card I've dusted the berries with glitter to add a bit of frosty sparkle. Serious glitter attack...I'm covered in it....the kitchen counter is covered with it and now I think it just might be an added ingredient to this weeks bread batch...so we will all be sparkly on the inside! LOL!

I'm entering this card into several challenges

"Make My Monday - Christmas with flowers/foliage or snowflakes"

"PanPastels UK Challenge - Frosty and Bright"

"Quirky Crafts - Clean and Simple"

"2 Sisters- Let it Sparkle"

"Allsorts - One Layer Card"

"Phindy's Place - Christmas Cards"

"Wags and Whiskers - Christmas theme"

Oh and I should have said that these cards are for the current Tanda Teaser over at "Tanda Stamps Blog"

Sunday, 20 November 2011

More Gilding!


Since discovering Indigoblu's Flitterglu I just can't seem to leave it alone! This time I used their gilding flakes too....how yummy does their Yorkshire Dales look on green pearlised card. For this card I have used stamps from Sam Poole's Stylish Christmas stamps, available from "Creative Expressions".

I've gone a bit to town with the old Spellbinders dies and distress inks too!

I would like to enter this card into a few challenges....

"Our Daily Bread designs - Baubles, bells or anything hanging"

"Fabulous Friday - Die cuts"

"Floweret - Christmas"

"Phindy's Place - Christmas cards"

"Wags and Whiskers - Christmas"

and last but not least here one for Zoe, Neet and Von over on "Just for Fun" where the challenge is to use you fav technique.

Tuesday, 15 November 2011

Not Just for Christmas!


These stylish "Creative Expressions" Christmas stamps by Sam Poole are certainly not just for Christmas! Having been on a whistle stop tour over the last couple of weeks, I totally forgot to make my brother's anniversary card....realised that I was a week overdue! Plus he lives in America so that's probably another week overdue by the time his card arrives! Feeling very guilty!

This card started as a Coke can...I annealed it in the flame on my gas hob to get the pattena and then embossed and pierced it. The beads are coke can too..just cut into strips and rolled up.

I finished the card off by stamping the swirly flourish around the edge.

I'm entering this into 4 challenges:

"House of Gilli - Monochrome"

"Crafty Cardmakers - Recycle"

"Critter Sketch Challenge - Monochrome"

"My Partner in Crime - Use any Freebie"

For this last one...my stamp was "free" as I am on the design team for Creative Expressions and of course the coke can was recycled.

Two's Company


Hi there I just thought I would share this anniversary card with you. I made it for my mum and dad's 50th Wedding anniversary hence the golden, champagne colours. The image was stamped in black soot distress ink and coloured with copics. The flowers and leaves are Tim Holtz dies and the lacy borders were punched with a Martha Stewart punch.

I'm entering this into the following challenges:

"Cupcake Crafts - Two's Company"

"Penny Black - all creatures great and small"

"Stamptacular Sunday - Punch it"

"Lili of the Valley - Creature Comforts"

"Cuddly Buddly - feature two little characters"


Oh a little tip...you know one of those well I tried it and it failed...you see the numerals...well they were cut using Tim Holtz Vintage Market....I then coloured them with gold Krylon pen....then coated with glossy accents...guess what they turned green...great if you want a verdigis effect but I wanted gold...so the numerals you see here were coloured using gold eco green pure gold acrylic paint...Glossy accents don't turn this green!

Monday, 14 November 2011

Rustic Charm


For my next card using Sam Poole's Stylish Christmas stamp set, from Creative Expressions, I have gone for a rustic theme.

The traditional reds and greens of Christmas lend themselves to a rustic treatment and what could be more complimentary than brown paper and natural raffia. Ok the brown paper is really card that looks like brown parcel wrapping. I shall send this card to one of our North American friends or relations because they know what a Cardinal is. We don't have cardinals over here, but I remember seeing them when we lived in the suburbs of Philadelphia and I have to say they are quite stunning.

I have used Gilding flakes again as per my last card, but have left off the glitter. The Poinsettia spellbinders die and the raffia have added a really rustic feel to the card that I am quite pleased with....and guess what...there is no restriction on the thickness of a card when you send it abroad...unlike sending internally! Not yet anyway!!! so result!

I an entering this card into three challenges...

"Samuel Taylors Challenge - Christmas Cards"

"Gingersnaps Challenge - Raffia"

and

"CCEE Stampers - Three different shapes on your card"

Friday, 11 November 2011

A Little bit of sparkle!


As I type this I am sitting in the reception of a hotel in Madrid....The travel bug really seems to have bitten lately, only problem is that nothing is getting done at home and blog posts have been few and far between....I'm having to schedule this one so that I can add the photos later....They are on my laptop at home...so with any luck this should appear some time on Friday afternoon with pictures! If not the pictures should come soon! I just spent an hour or so working on the toppers for our family Christmas card for this year and I have discovered that Ranger Stickes do not travel by plane well.......I had my own glitter fountain! I guess for some reason the pressure had built up inside the tube on the flight and then hadn't equalised itself since. A bit hairy when you are sitting in the reception of a posh hotel and crafting on antique inlaid table!

Well enough of that and onto my next card using Sam Poole's wonderful Stylish Christmas stamp set. I was really happy to receive these stamps from Creative Expressions, they are so versatile, as you will see if you visit any of the other design team blogs. I have a bit of catching up to do!

For my card I used the Robin, the flourish (how fab is this stamp....certainly not just for Christmas! ) and the Noel stamp. I also used a brand new product, Flitterglu from IndigoBlu. I'd had these guilding flakes for absolutely ages and ages, but I didn't really like any of the products that you used with them, consequently they tended to just sit in the drawer, as these things do. Until now that is!

You will be seeing quite a lot of gilding flakes from now on. What's even better is that the technique works really well with these Creative Expressions stamps.

For my card I used Fliterglu directly on the robin stamp and stamped this onto red card. The gilding flakes are then patted over the stamped image before being rubbed off and buffed. I used the Fliterglu on the flourish stamp but instead of flakes I used fine bronze glitter to make a background. Noel was stamped in Aged Mahogany Distress ink and distressed around the edges a bit. The robin and the layer under it was cut out using a Spellbinders die.

I would like to enter this card into the following challenges:

"Chrimbo Crackers - Must be Christmas Make it Sparkle"

"Dutch Dare Card Challenge - Punches and dies"

"Forever Friends - Must include an animal, something old, something new"

"Inky Impressions - Glitter"

And last but no means least,

"Ruby's Rainbow - Something with wings"

I'm starting to panic now.....it's been several hours since I applied the Stickels and they are no where near dry...I'm supposed to be getting a taxi in an hour's time! EeeK!

Wednesday, 9 November 2011

Traditional Red and Green for Christmas


Just a quick post....by the end of this week I will be another 5 days behind, perhaps things might get a bit more sane next week! Fingers crossed!
Card was made using Tanda stamps, Copic Markers and Distress Inks.

Thursday, 3 November 2011

Serious Catching Up To Do....


Sorry been awol....go away for one week...and so I am now soooo behind.....

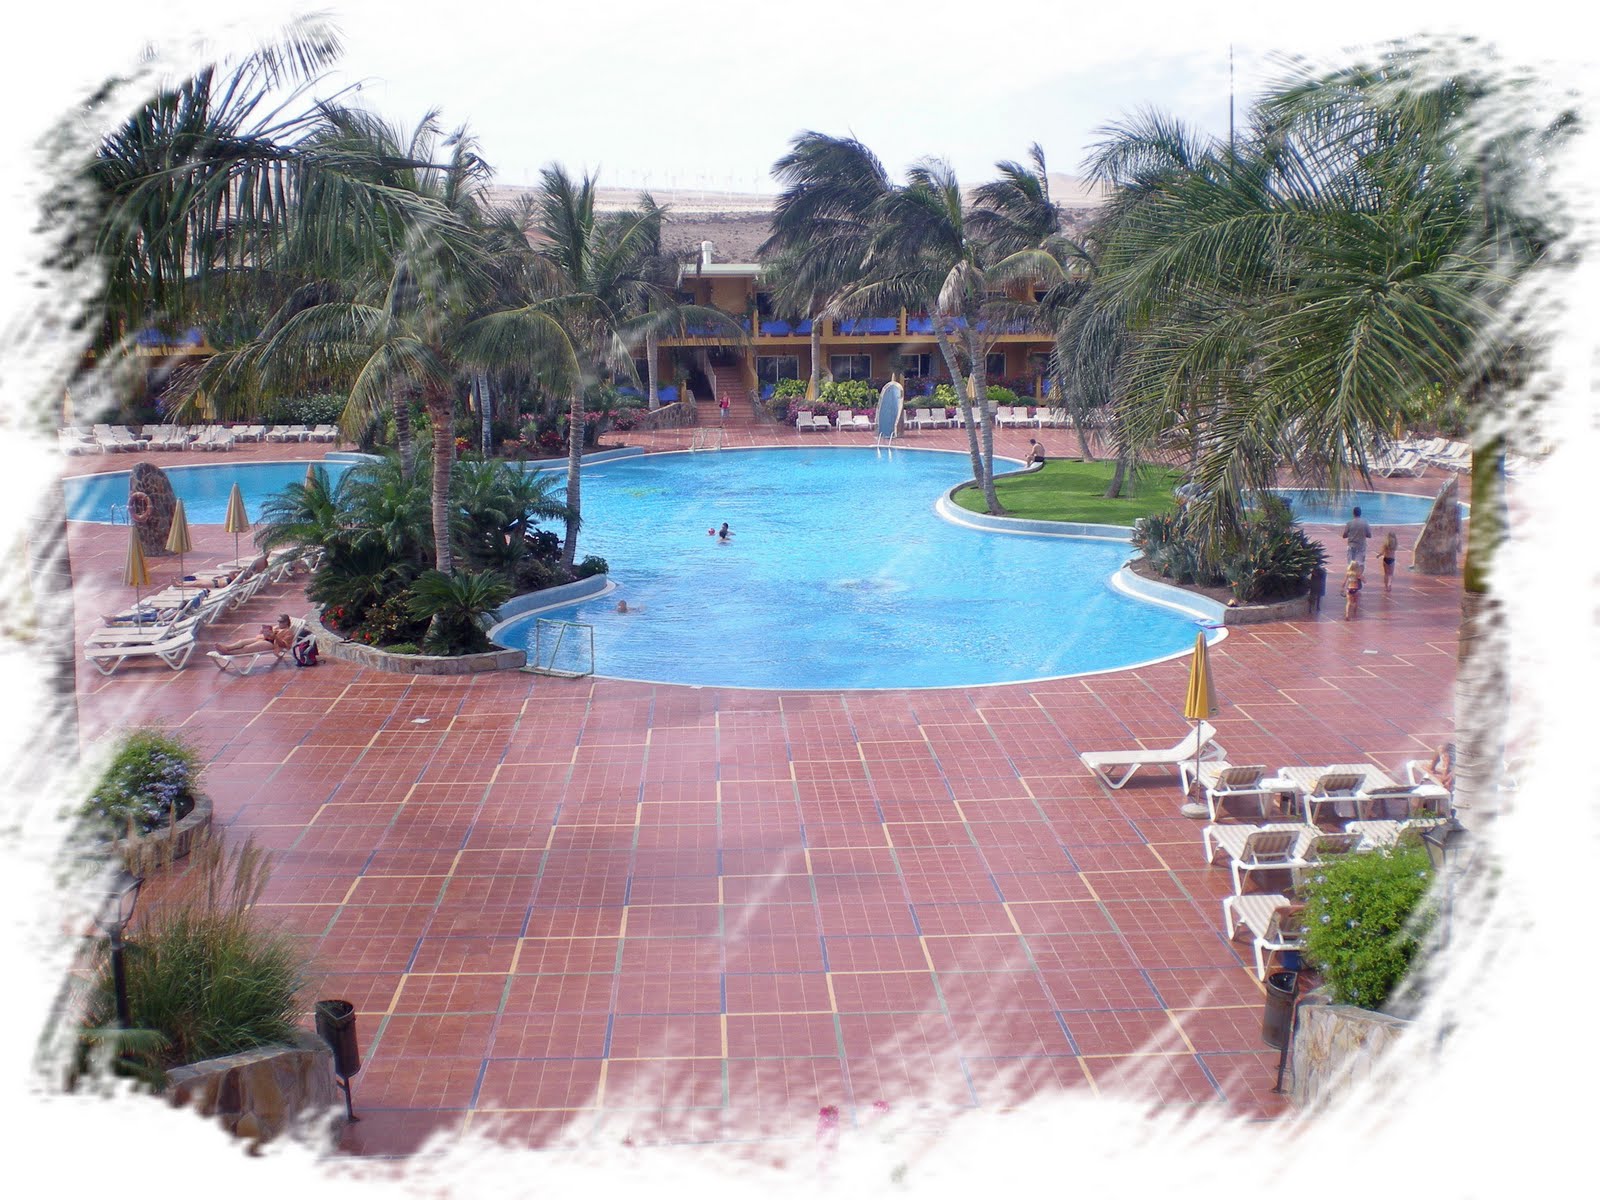
Just spent a week in the Canaries. Sunrise on the way out was better than the picture...The weather was fab and the pool was great but trust me it really took your breath away when you got in.....hence I left it till about 4pm before getting in....got to swim almost everyday though...so pretty chuffed with myself.

So on Monday when I got back I was really looking forward to the package from Creative Expressions containing the latest set of stamps....then I got a call....come to the Treasury on Wednesday night....new product.....strictly need to know only....going live at the NEC today....how could I resist?....see if you can find it at the show...2 mins if that into the demo...I'm like....I've got to have it NOW! It works perfectly with these latest stamps....but you will have to wait till later....I haven't finished my card yet using this product....so instead I'm showing you the card that I had planned in my head all the time I was away.....


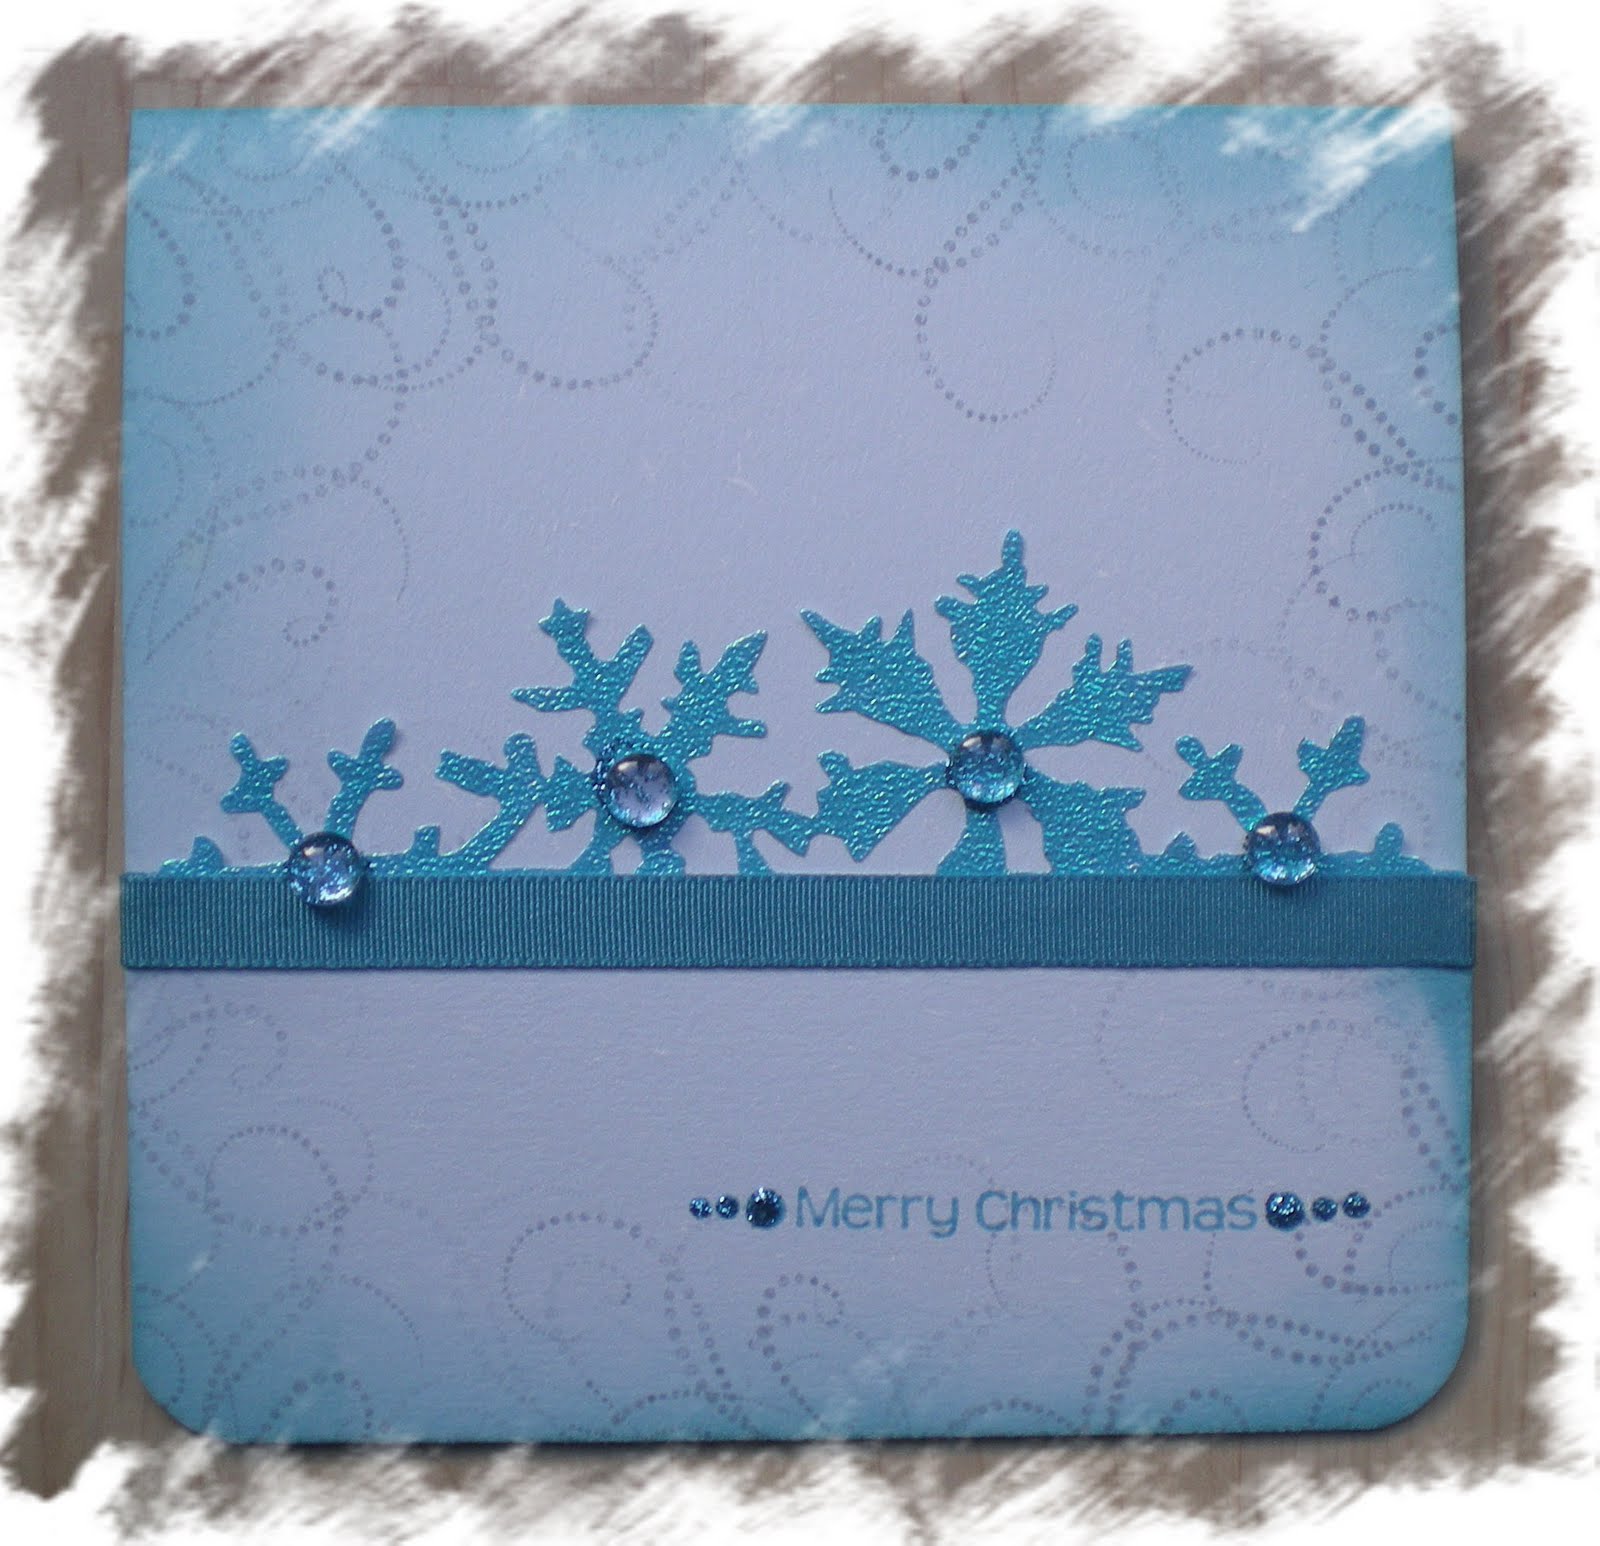
I used Weathered wood and Broken China Distress Inks and turquoise stickles to make this card.

I'm entering this card into three challenges....

firstly

"Shelly's Images - Monochromatic plus ribbon"

secondly

"Crimbo Crackers - Must Be Christmas"

and thirdly

"Stamp Insantity - Chilled out blues"

Sunday, 23 October 2011

An experiment........


Ok so this a little experiment....I 'm not where I usually am and I am relying on an iPad and a very, very dodgy wifi to do this. Hubby got me an iPad for my birthday in the summer....really it was a pressy for the family to take away on holiday or out when we are away from home.....so there's me trying to learn what I can do with the thing.....so can I post a blog from this thing? I started this before I left home by saving the picture in a draft post, so now I'm adding the text.

It looks like it's going to work, but I have no idea how to put links in, and not sur the wifi here is up to it!

My card is the next Tanda Teaser, Sepia tones....this is the first of my Christmas Cards this year and uses the Tanda Dot and strip Christmas set.

My next Christmas card here is very likely to be made using the Stylish Christmas set from Creative Expressions.....my fingers are seriously itching I have to say! Probably the only reason I want to go home!

Watch this space.......

I've Started but Haven't Finished!

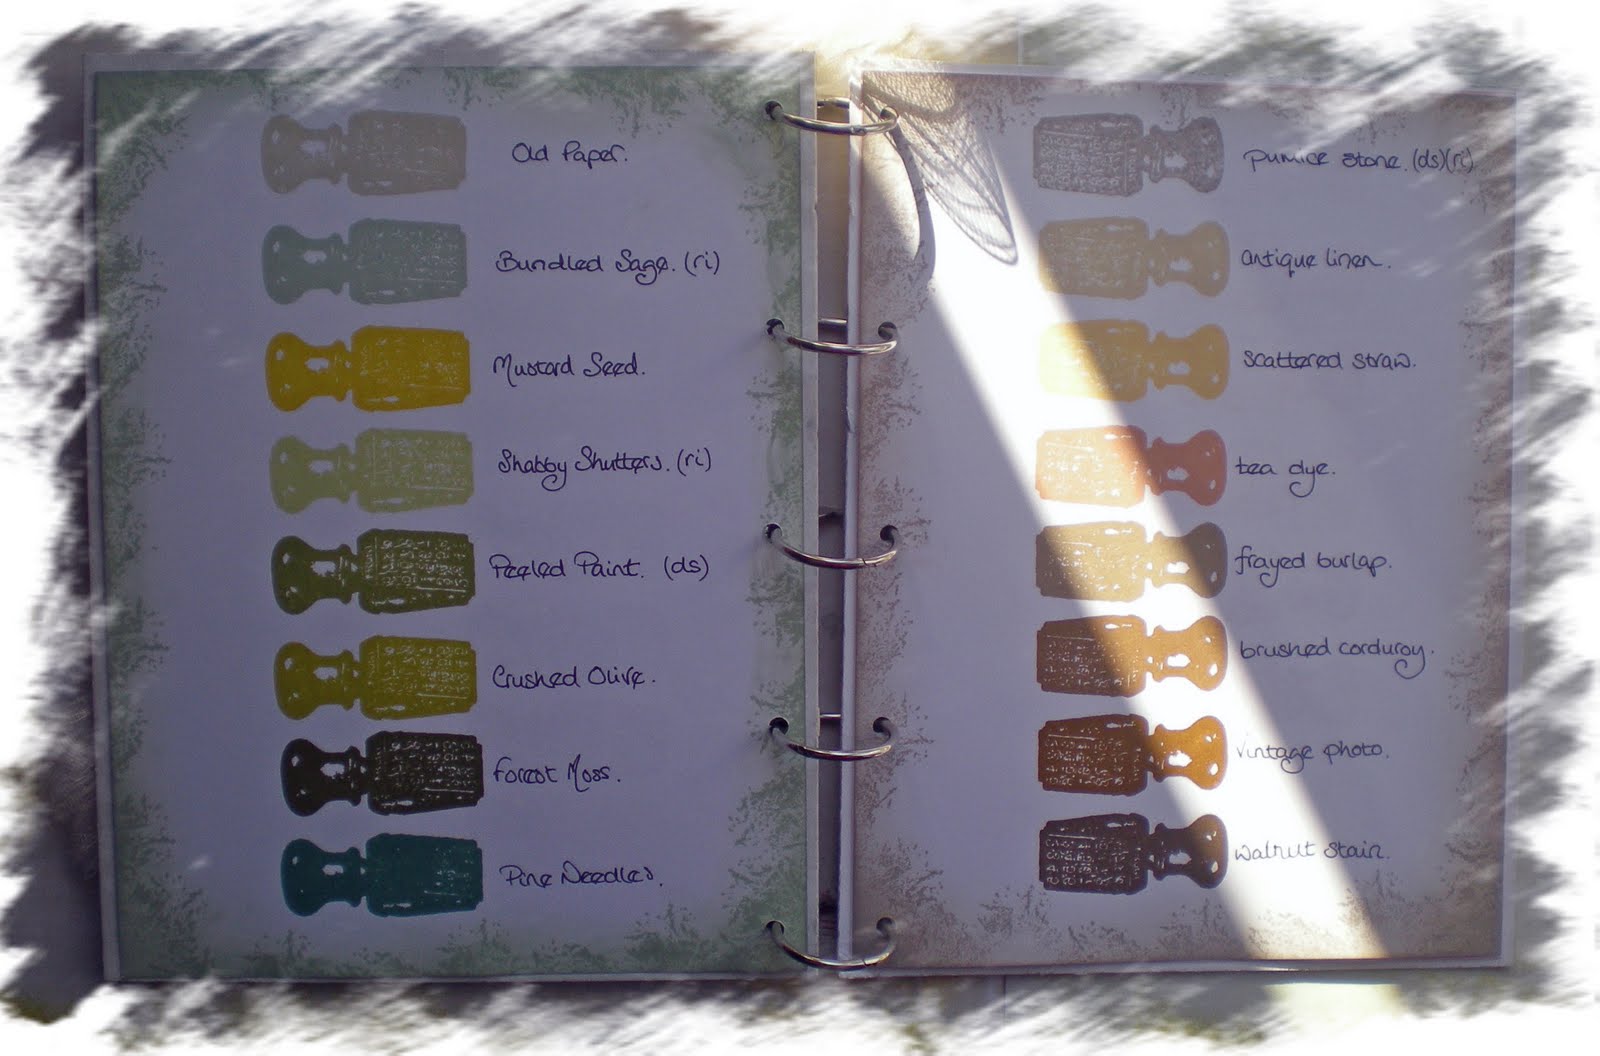
In my last post you will have seen that I have started a book to catalogue all my ink pads, inks, paints etc......I've now managed to do the pages relating to my distress inks.

So now I have gone from this....


To this......


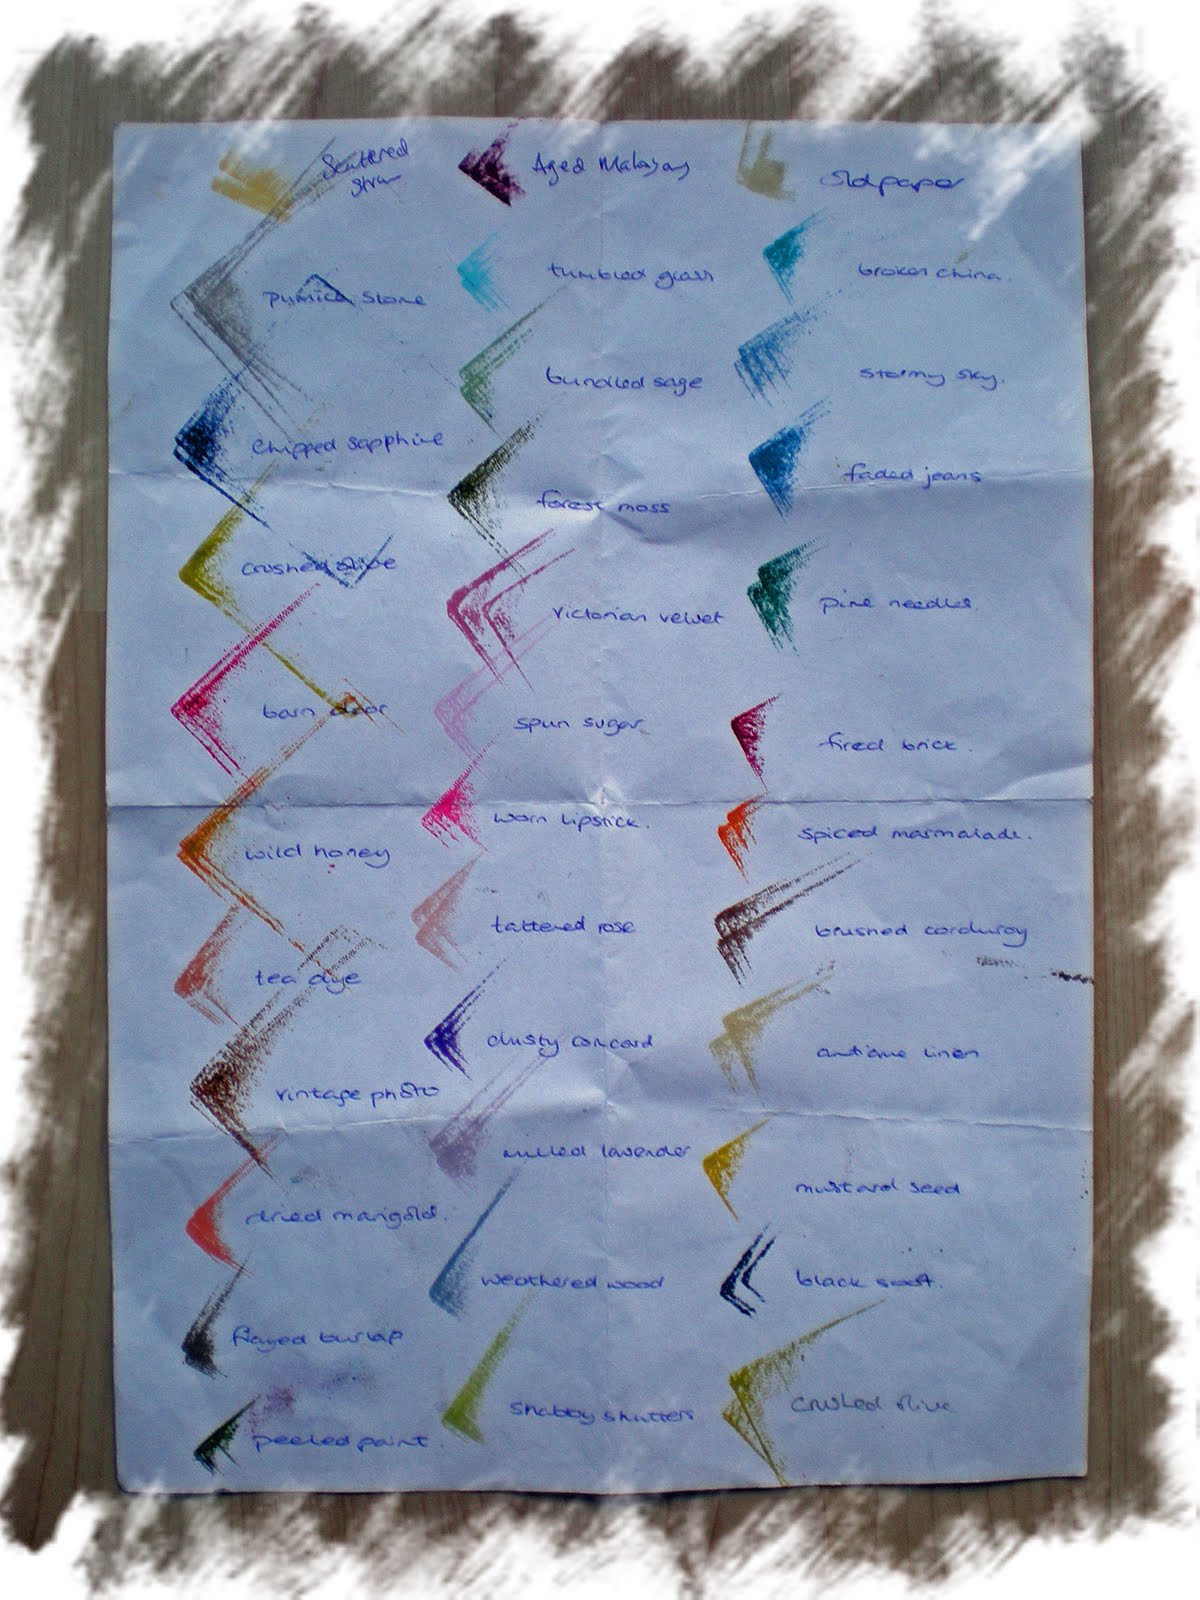
I grouped the inks into colour groups and then arranged them so that the shades got deeper as I went down the page. I used the fabby vintage date stamp from the Creative Expressions Vintage Typewriter set to stamp each colour. I added the codes ri for re-inker and ds for distress stain after the name so that I know what I have in my stash. Still got quite a few re-inkers and stains to get, so hopefully this will mean that I don't double up on any accidentally.

It wasn't until I had done this little exercise that I realised how lovely these colours are together! I'm sorry the photos don't do the colours justice.

Monday, 17 October 2011

Something Useful!


For a while now I have been thinking that it would be a good idea to start cataloging my stash....how many times have I bought something I forgot I already had....and how useful would colour charts be instead of the scraps of paper that I currently use or loose in the corners of my handbag?!

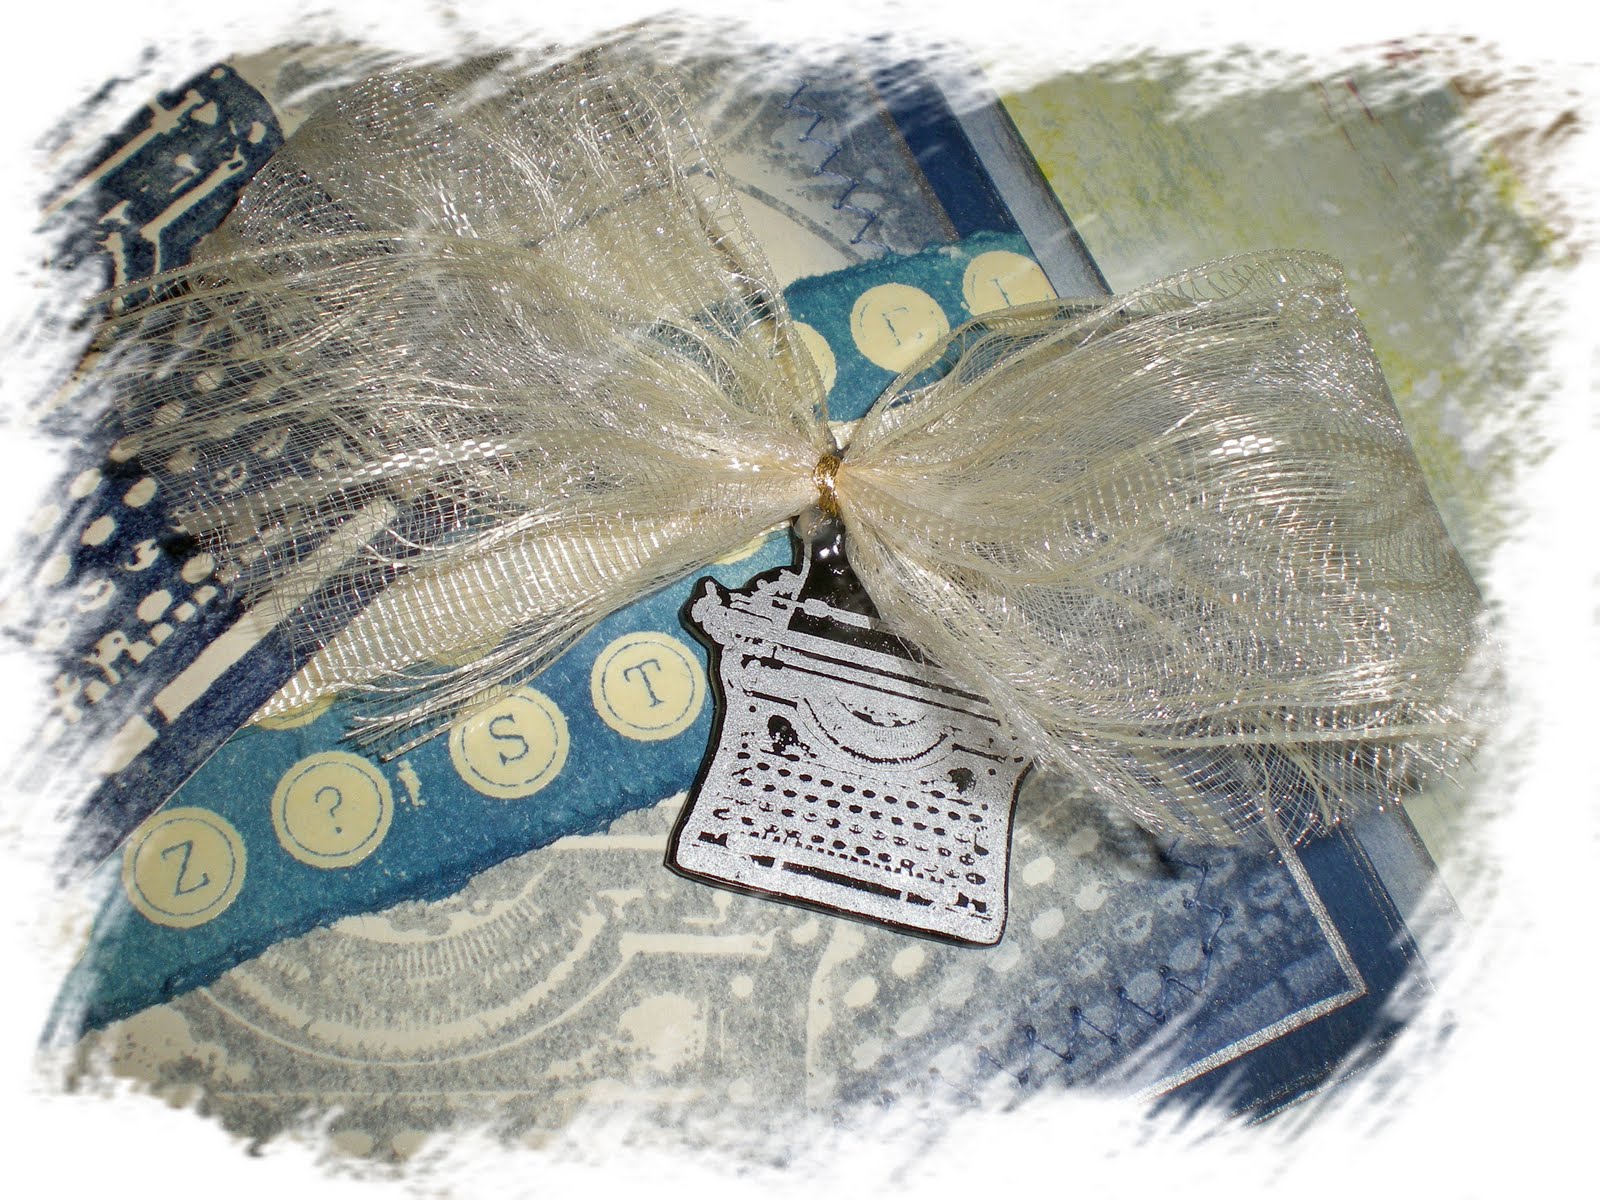
Well this is the start of it...not sure how long it will take to complete, I know that I won't have it ready in time for the NEC in November, but at least I've started. So far I have made the front cover using the Vintage Typewriter stamps from Creative Expressions.

My local picture framer gave me a small pile of mountboard offcuts for free...So this was the start of my cover. I made a background by repeatedly stamping the typewriter in Weathered wood distress ink, masking as I went. This was distressed around the edges using Chipped sapphire distress ink. I mounted this layer onto dark blue card and stitched the two layers together with a zigzag stitch.


I stamped the typewriter on cream card in chipped sapphire and heat embossed in clear and then cut it out. I also stamped the typewriter keys in versamark and then heat embossed in clear before inking with weathered wood, stormy skys and chipped sapphire. I also stamped the typewriter in silver stazon on black shrink plastic, allowed it to dry, cut it out and then heated it to shrink it.

I'm thinking that once I've got some pages in my book I will decorate the book rings with lots of fibres....I love fibres, but I think that it will be difficult to add pages with fibres in place..hence waiting for a bit on this one.

Having checked out the feline playful blog I reckon that this will fit three challenges.....

namely..

"Fashionable Stamping challenge, Anything but a card"

"The Crafty Pad - Monochromatic"

"Stamptacular Sunday - Must use a stamp, You choose"

Thursday, 13 October 2011

Tanda Teaser - Packaging


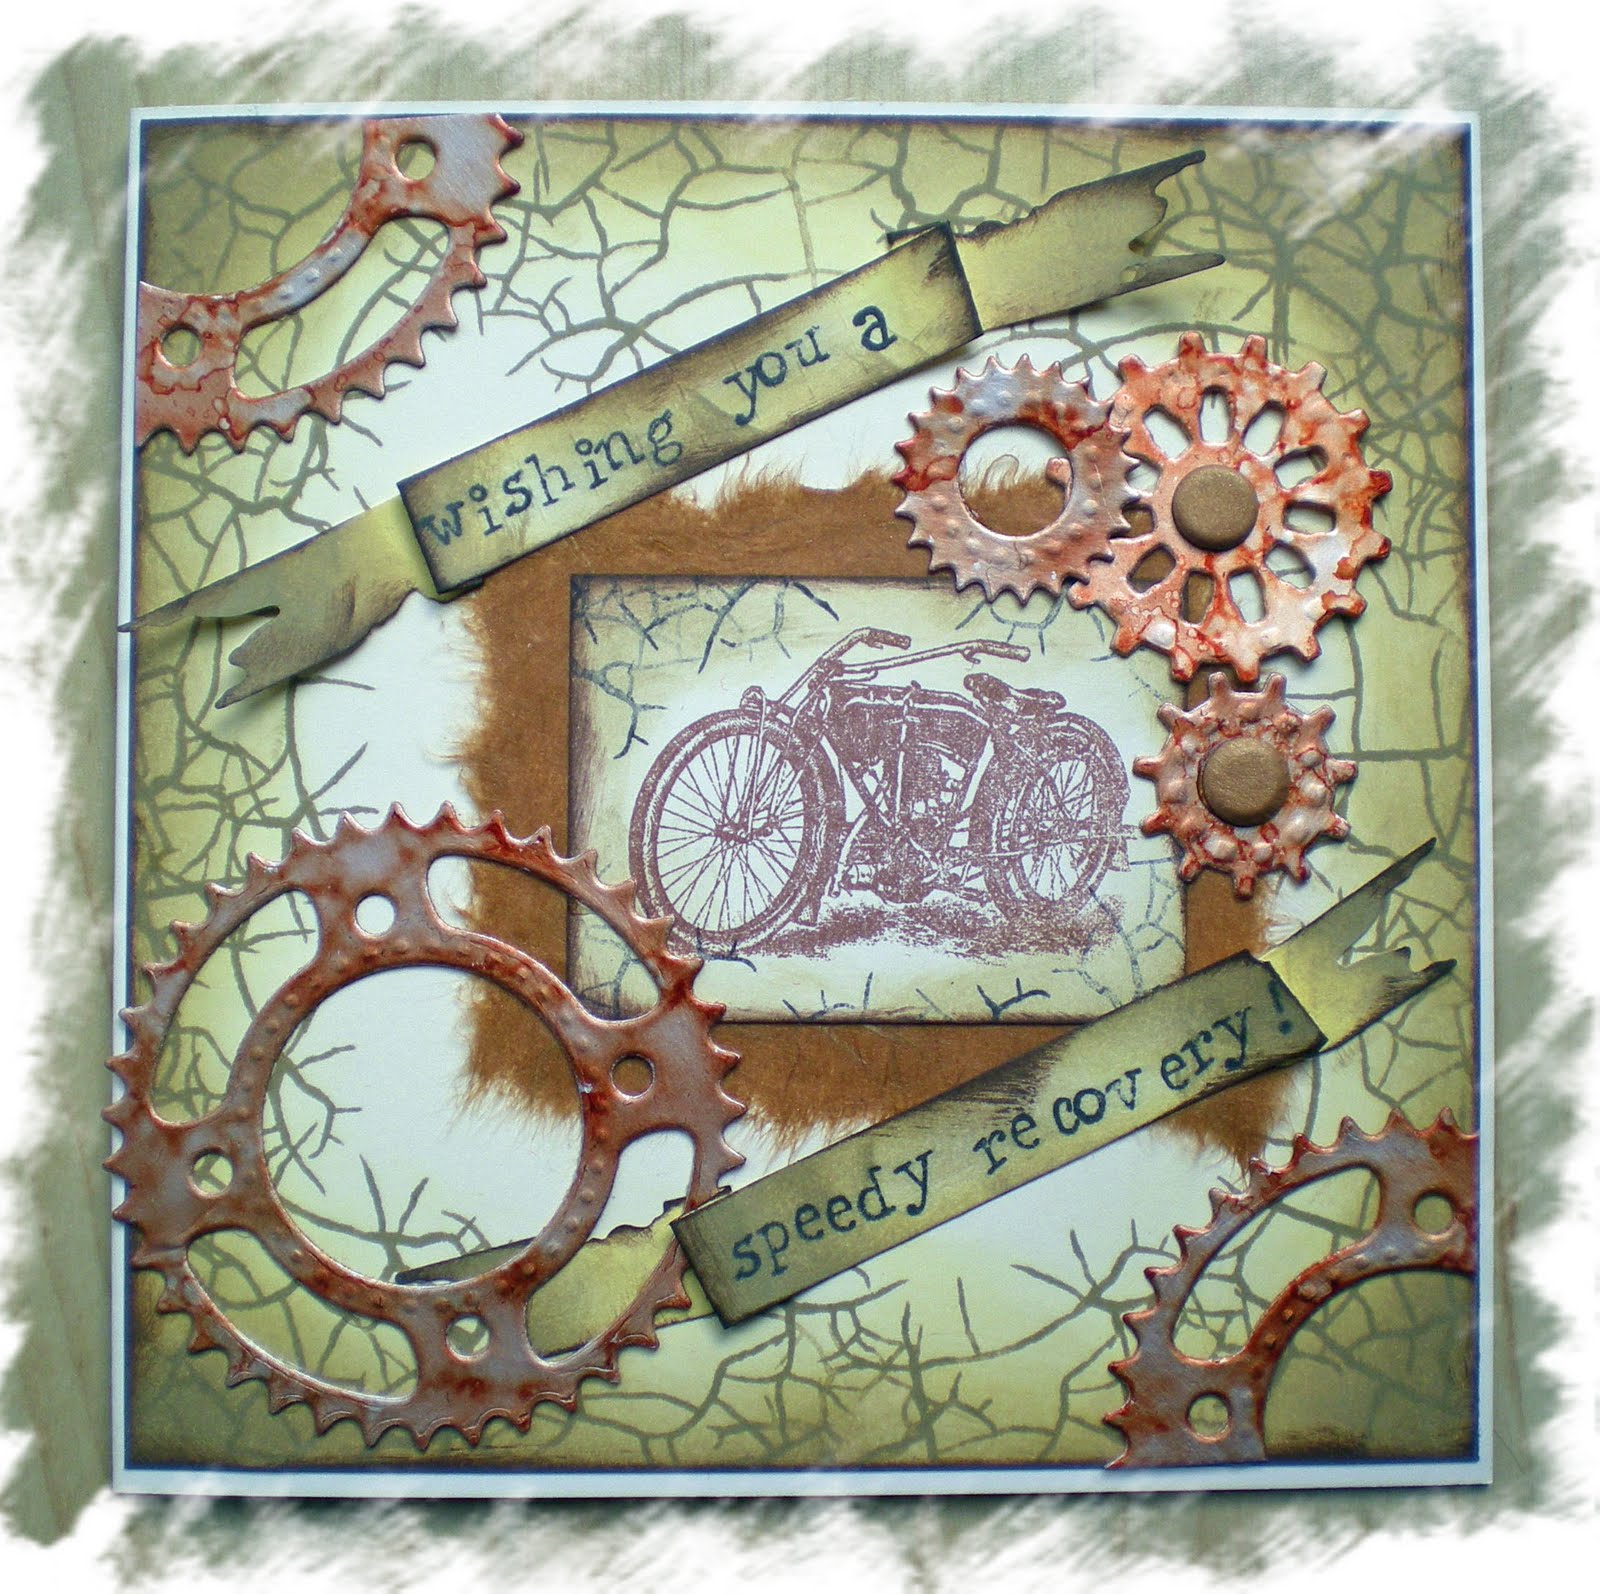
Hi, just a few mins to put together a post on the "Tanda Teaser". For the next fortnight the theme is to use packaging somewhere on your project. For my card I used the Spellbinders cogs dies to cut cogs out of fruit juice cartons. I then coloured these with alcohol inks. The inks used were distress inks and the banners were cut using the Tim Holtz die. The motorcycle and the crackle are Tanda stamps. The sentiment was stamped using individual letter stamps.

Having just checked out "the Feline Playful blog" I have seen that this card can be entred into two challenges.

Firstly "Just for fun - use something from the kitchen">

and secondly "The Southern Girls Challenge, slugs and snails something for the men/man in your life"

Tuesday, 11 October 2011

Where does the time go?


I really wish I knew the answer to this one! Before you know it, it's next week already! I seem to keep loosing days, last Saturday I had to take my eldest daughter to an open day at Reading Uni. I was supposed to watch my youngest row in the Stourport Head on the same day but couldn't be in two places at once so had to rely on a friend to bring her home.

This week I'm taking two days to go and see my Mum and Dad and try to help them sort a few things out. Dad still hasn't had a biopsy on the tumour in his stomach and seems to be getting weaker and weaker by the day. He's been offered a day a week in a hospice to give mum some respite and a wheelchair seems to be on the cards soon too. Not sure he's ready to accept either of these though.

So that's three days taken out of my week...still trying to fit all the other things that have to be done in so I guess that's why I haven't found a moment to blog or blog hop!

Luckily I have managed to have another play with the Vintage Typewriter stamps from "Creative Expressions." This week my creation started off with some black ribbon that reminded me of typewriter ribbon. I decided to stamp the hugs and kisses stamp onto the ribbon using "Pearl Adirondack Acrylic Paint Dabber." I was going to position the ribbon to make horizontal stripes across my card but then decided that this wasn't going to work. Instead I used four strips of the ribbon to make a grid. I then stamped the hugs and kisses stamp randomly in Black Soot Distress ink in the centre, masking the ribbon where necessary. This was then matted and layered onto pink then silver then the white base card. The typewriter was stamped in Black Soot Distress Ink and heat embossed in clear ep before being cut out and mounted in the top left hand corner of the card. To balance the Typewriter I glued three white rose buds onto the bottom right hand corner with a pink ribbon.

I'm entering this card into three challenges, I'm sure there are more if I had time to look! Anyway, here goes.....

"Let's ink it up - Think Pink"

"Sentimental Sundays - Must include a sentiment, anything goes"

"The Crafty Pad- Vintage" My colours might not be vintage, but the image is so I hope this counts!

I hope you're days aren't as hectic as mine at the moment!


Thanks for looking!

Tuesday, 4 October 2011

A Bit of Shabby Chic


Last week I received my order from Creative Expressions which included the Rambling Rose stamp set. I wanted to combine it with the Vintage Typewriter set that the Creative Expressions Design Team are working with this month. For my next sample card, I wanted to make a really pretty and feminine card and the roses were perfect for this.

Firstly I stamped the rose corner onto 14cm x 14cm cream card in pumice stone distress ink. I also stamped the large leaves in pumice stone on another piece of card. The tag was cut from the same card and stamped again in pumice stone using the sentiment from the typewriter set and the small rosebud from the rambling rose set. The typewriter was stamped on the same cream card with frayed burlap distress ink and then heat embossed. The sentiment was then stamped in pumice stone. This was then cut out.


I coloured the roses and leaves using faber castel pitt pastel pencils and sansodour. I covered the leaves in glossy accents allowed them to dry then cut them out. The base layer was distressed around the edges using pumice stone.

Next I made a green strip of vellum punched with a Martha Stewart punch with a strip of cream vellum over the top. I stuck these onto the square base and stitched around the edge and across the vellum strips. I glued the ribbon over the top to hide the glue holding the vellum down. the typewriter was stuck over the top of the ribbon, the tag was tied onto the ribbon and the leaves tucked in behind the bow and tag.

At this point if felt I needed a little something at the top of the card. An off cut of ribbon and a smokey brad did the business in the top right hand corner balancing out the tag at the bottom. The whole thing was then mounted onto a 15cm x 15cm brown card.

I'm entering this card into several challenges....

"Let's Ink it Up - Think Pink"

"Paper Sundaes - Lots of Layers"

"Sentimental Sundays- must include sentiment and sewing or stitching"

"Crafters Companion - Cards only pink and green"

"Die Cut Dreams - Brown, Pink and Cream"

Sunday, 2 October 2011

Save the Date with Creative Expressions Vintage Typewriter Stamp set


Well, while I've got some internet I thought that I would try to catch up with some of the cards I've been making and been unable to blog! I have been busy crafting honest!

This is my next card using the "Creative Expressions Vintage Typewriter set". As you can see I'm still using up the ink sprayed watercolour paper! I just got the round the corner Martha Stewart stamp and couldn't wait to use it. I have a Tim Holtz mask that is similar and thought that the two would go together well...haven't had time to try this theory out yet though!

For my card I stamped the date stamp in aged mahogany distress ink and heat embossed it.

The rosette was made using seambinding coloured with distress inks and the letters were from the keypad background stamp. I decided to leave the stamp whole and just punch out the letters I needed. The finishing touch was a bit of stickles to give a bit of sparkle.

I am entering this card into the following challenges

"Sparkles Forum - Something that sparkles"

"Stamptacular Sunday - Must use a stamp, Autumnal colour photo inspiration"

"Artistic Stampers - must use a rubber stamp - Autumn Colours"

This week I received my order from Creative Expressions, so I have been playing with my new stamps making more cards....I will be blogging these over the next couple of weeks. I think I need to set up a facebook account as it doesn't look like I'm making anything over on the Creative Expressions facebook page at the moment...need to pin my eldest daughter down to show me what to do. LOL!

Hot, Hot, Hot and an apology!


Firstly, I have to say sorry about the lack of blogs this week....our internet has been awful, just when you think that you might be getting somewhere you get disconnected...I spent ages trying to get onto the internet last night and a whole long list of other peoples wifi came up...some of it protected and some not....My eldest was trying to get the internet on her phone the other night and actually managed to get onto someone elses wifi and not ours..Didn't work for me though (they are still unprotected but the signal is so bad it wouldn't connect)..I'm wondering if we have some internet virgins just signed up to broadband in the village and this is effecting every ones speeds...I know we are not the only ones feeling the effect, as my friend who lives just outside the village has been having the same problems.

It's steaming hot here in Worcestershire.....I had no idea that it was going to be like this when I set the last Tanda Teaser..Honest! This fortnight the Teaser is just add a bit of warmth...the idea being that you use warm colours on your card. I've used a Spellbinders die to cut a mask then used it to stencil a block of colour (I think I used wild honey distress ink). The Tanda Hotel Vendome stamp was stamped in coffee archival ink. I added a few gilding flakes and a bit of cream ribbon tied in a bow. This is quite an orange card so I think it will count for "Gingerloft's current colour orange challenge"

Thanks to the mask this is almost a single layer card, but then I mounted it on a pearlised brown card and then onto a base cream card, hence giving a framed effect.

Monday, 26 September 2011

Another Vintage Typewriter


I am loving this vintage typewriter stamp from creative expressions so you will just have to forgive me for using it all over again!

I started making this card last week just after my Black and White clean and simple card. I had made a couple of cards using some water colour paper that I had spray inked in yellow, orange and red and had some left over so rather than waste it I thought I'd use it with the Typewriter.

However as you will see it was very similar to my last card and I left it on the side all week thinking about how I could make it different. Then it came to me...go for 3D and add some wire and beads to form the roll bar. So whilst the layout is very similar, the colour, texture (ribbons. wire and beads) and depth of the card (decoupaged and heat embossed) do give it a different look. If you click on the closeup you will be able to see the wire between the two layers, I added two matt black beads to the wire to look like the little rubber rollers.

The typewriter has been stamped in Aged Mahogany Distress Ink and heat embossed with clear ep.

The vintage subject matter allows me to enter this card into two challenges,

"Fashionable Stamping Challenges, No digi allowed - Vintage"

"Gingerloft - Vintage or Distressed"

Thanks for looking!

Friday, 23 September 2011

Aqua, white and glitter


The next challenge over on "the Lili of the Valley challenge site" is aqua, white and glitter. The glitter is not obvious on my card but it is on the stole...promise!

Tuesday, 20 September 2011

Vintage Typewriter


My next set of Creative Expressions stamps was waiting for me on the mat this morning so much of today has been spent mounting them and cutting them out. This month I have Sam Poole's vintage typewriter set to play with. A bit nostalgic for me as I did a secretarial course before going to college and for one of our classes we had to use typewriters like these. We did have electric typewriters as well but we had to learn on the old ones too. I guess this was just in case we ended up working for a company that wasn't so up to date.

For my first card using these stamps, I have kept things really simple. I love the way that the paper on the typewriter is sized so that the text stamps in the set will fit. I decided that I wanted to do a very simple card and thought that a thank you card would be the perfect thing....sometimes we all need a quick Thank you card and you can't get much quicker than this one.


I stamped the typewriter and sentiment in Ancient Page on smooth white card stock. Then I punched the spiral holes down the edge with an SU punch. I layered this on black card and then mounted this onto a square white card. I did play around with some black and white ribbon and paper clips, but decided that the card really didn't need anything else.

Sometimes less really is more.

I would like to enter my card into several challenges:

Alphabet Challenge "Quick and Simple"

Corrosive Challenge "Punches/and or Dies"

One Stitch at a Time "Punch it"

Sentimental Sundays "Monochromatic, must include a sentiment"

Stamptacular Sunday "Just Saying"